
Pick ‘N’ Place Wheel (V2) Build Instructions
This article will guide you through hardware selection, 3D printing, and assembly of your pick ‘n’ place wheel.
The wheel can be assembled as a manual wheel, or a motorized wheel, in both cases the wheel itself must first be assembled, the wheel also has two sizes, the default Pick ‘N’ Place Wheel(ALPNPW200) and the large Pick ‘N’ Place Wheel XL(ALPNPW300), this page features the parts and assembly steps for both sizes.


Downloads:
Pick ‘N’ Place Wheel (ALPNPW200)
Requires a 3D printer with at least a 200 x 200mm Bed size
Pick ‘N’ Place Wheel XL (ALPNPW300)
requires a 3D printer with at least a 300 x 300mm Bed size
Hardware for (Manual Wheel)
1pcs Pick ‘N’ Place Wheel Control Board (Default or XL)
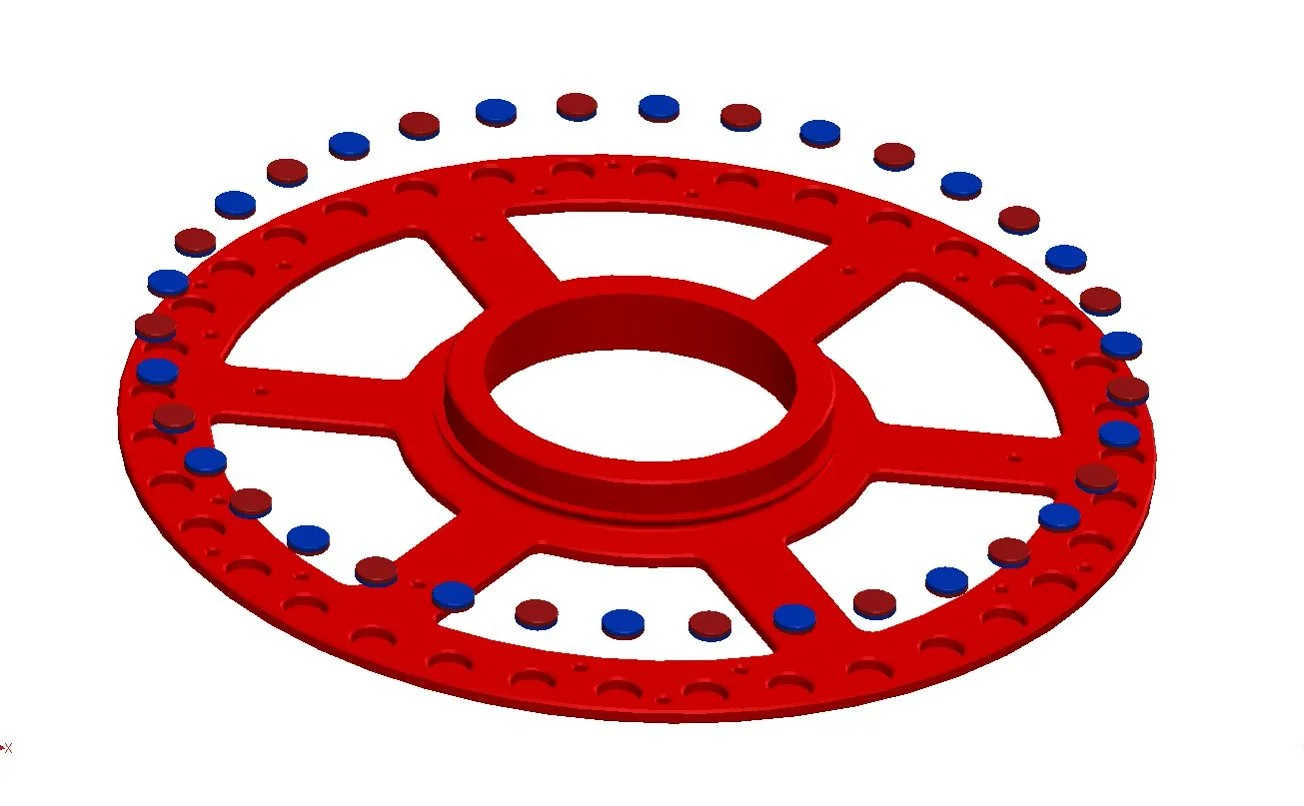
8x2mm Neodymium Magnets:
36 pcs (Pick ‘N’ Place Wheel)
54pcs (Pick ‘N’ Place Wheel XL)
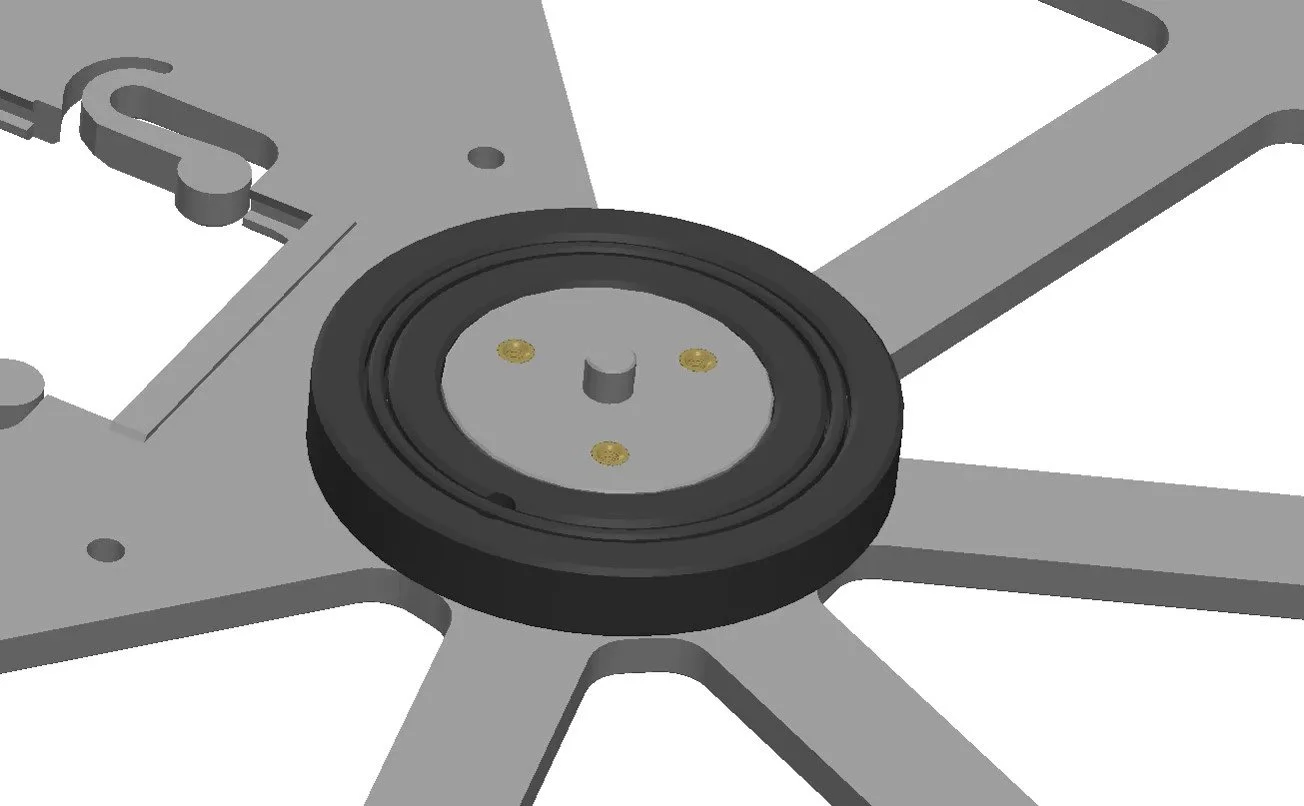
M3 heat inserts:
3pcs, M3 outer diameter 4.2mm, 3mm length (Pick ‘N’ Place Wheel)
3pcs, M3 outer diameter 4.2mm, 4mm length (Pick ‘N’ Place Wheel XL)
3pcs M3x6mm Ultra thin head bolt
16pcs M2x8mm self-tapping screws
17pcs M2x6mm self-tapping screws: only required for Pick ‘N’ Place Wheel XL
Wheel 1 bearing:
1pcs 16004 ball bearing (Pick ‘N’ Place Wheel)
1pcs 16007 ball bearing (Pick ‘N’ Place Wheel XL)
Wheel 2 bearing:
1pcs 6810 ball bearing (Pick ‘N’ Place Wheel)
1pcs 6815 ball bearing (Pick ‘N’ Place Wheel XL)
Placing surface bearing:
1pcs 16001 ball bearing (Pick ‘N’ Place Wheel)
1pcs 16003 ball bearing (Pick ‘N’ Place Wheel XL)
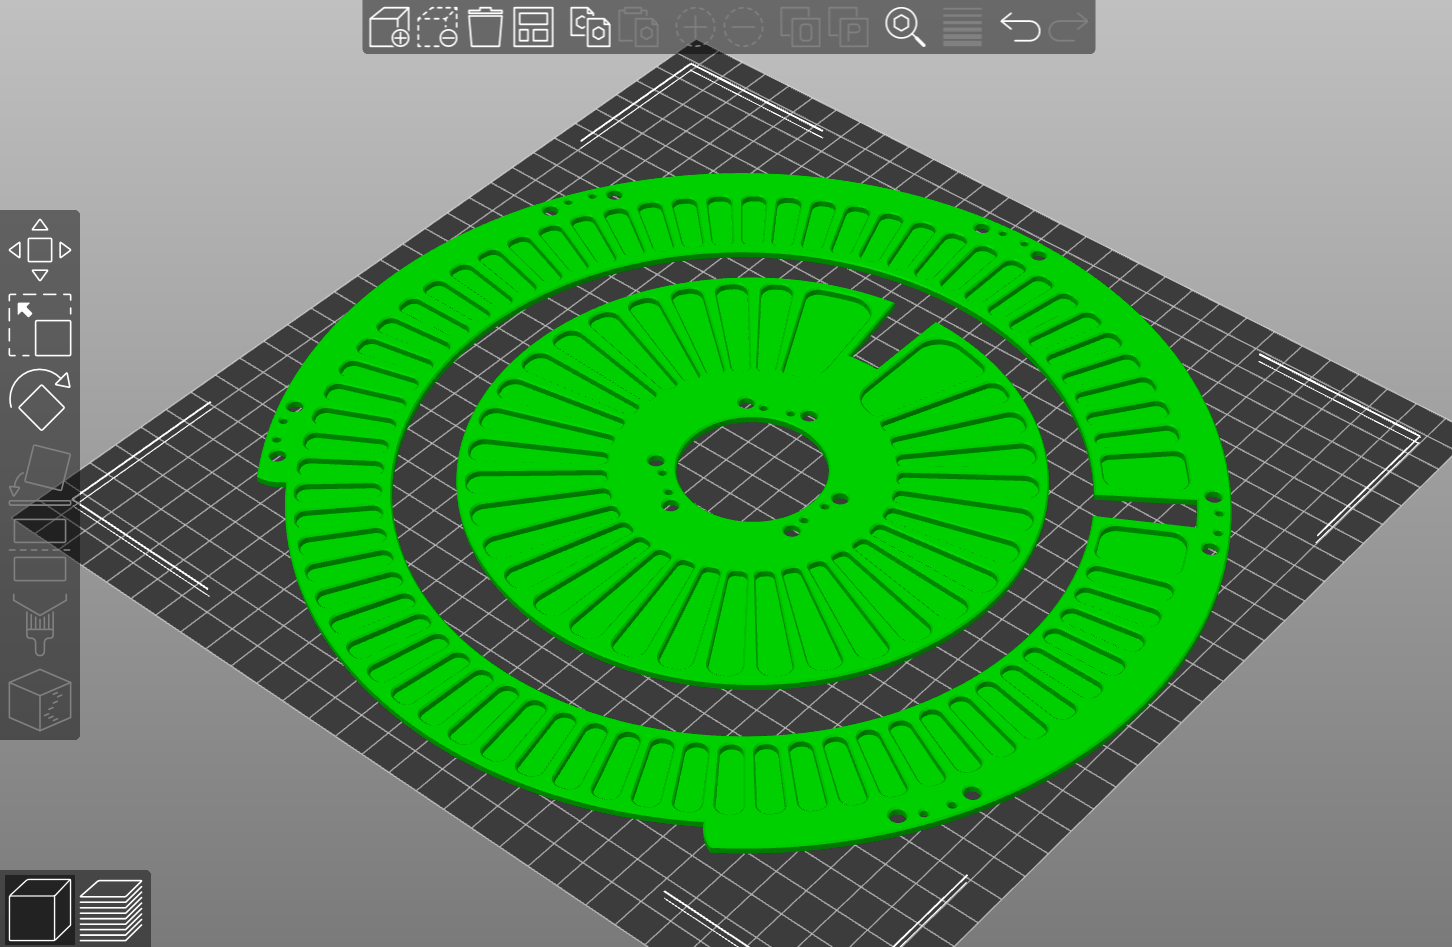
3D Printed Parts (Manual Wheel)
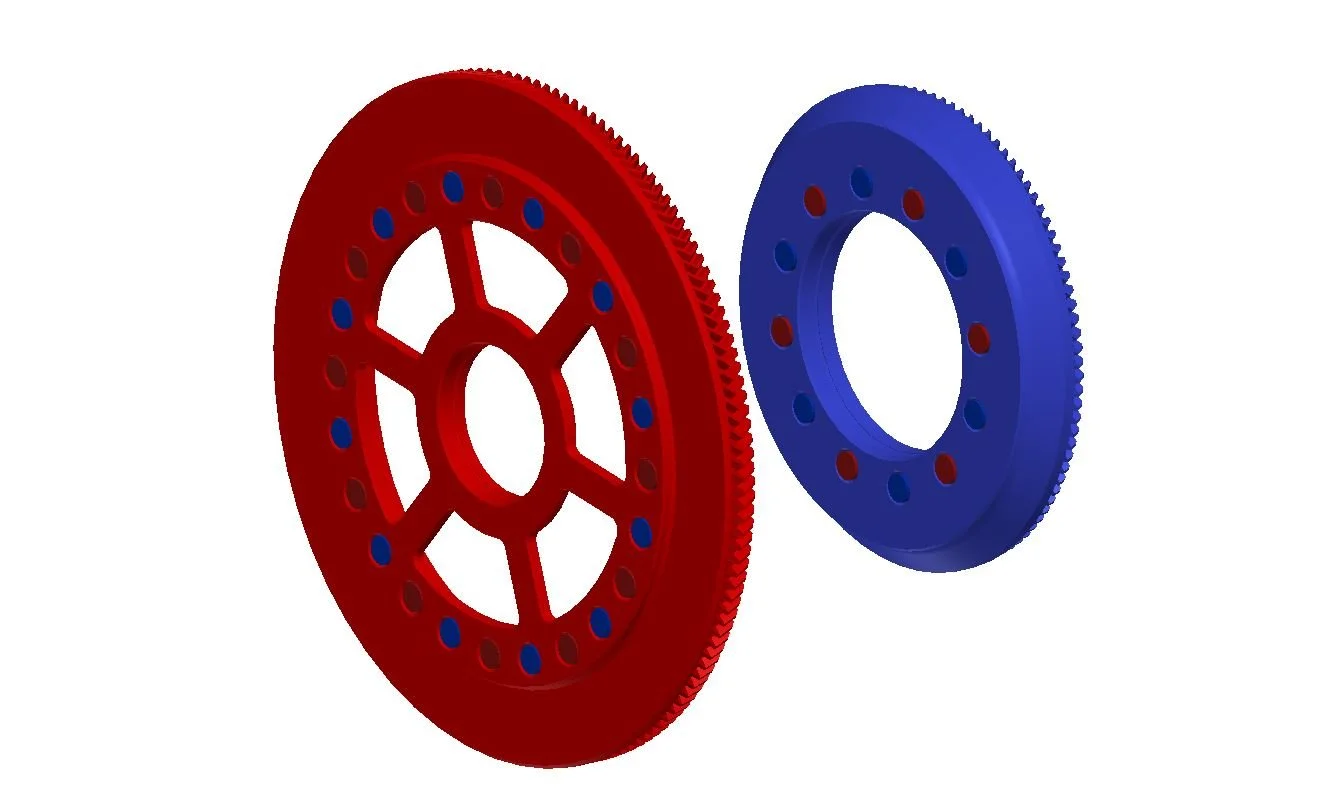
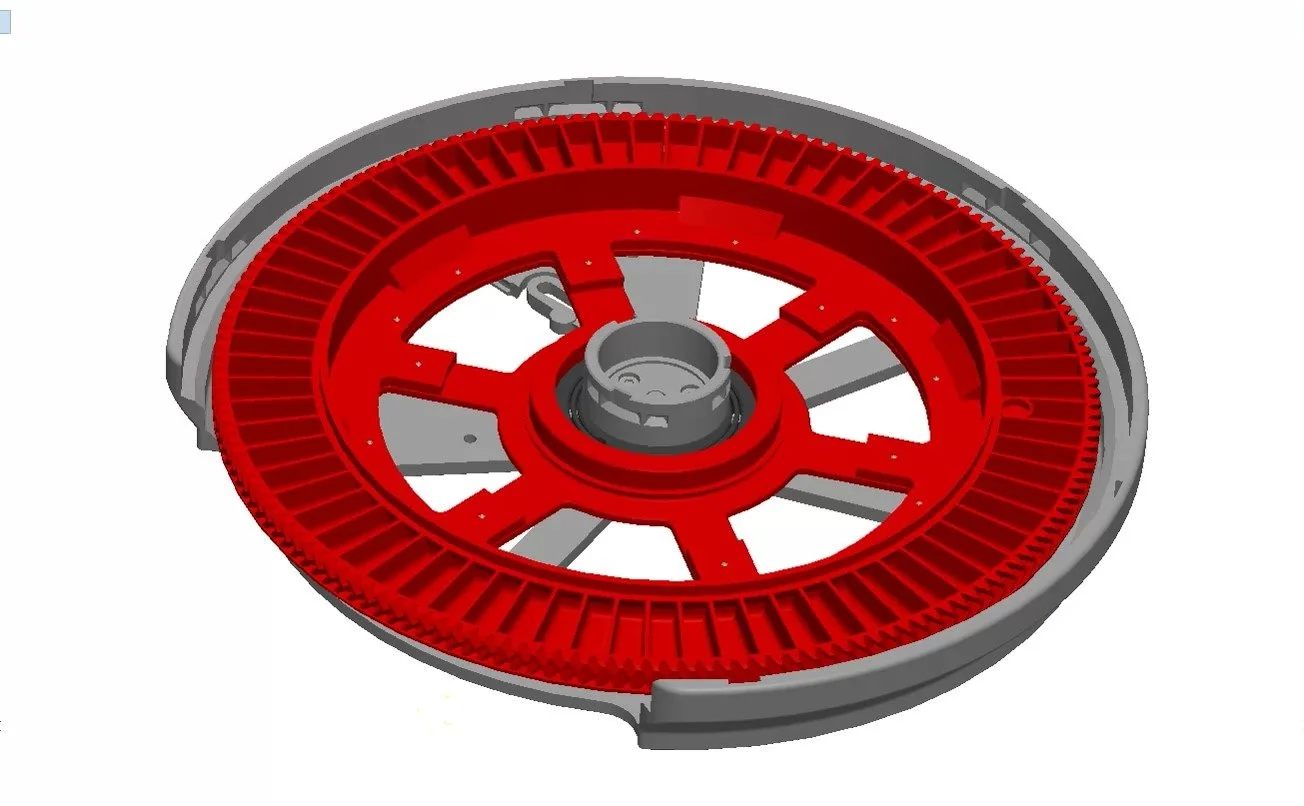
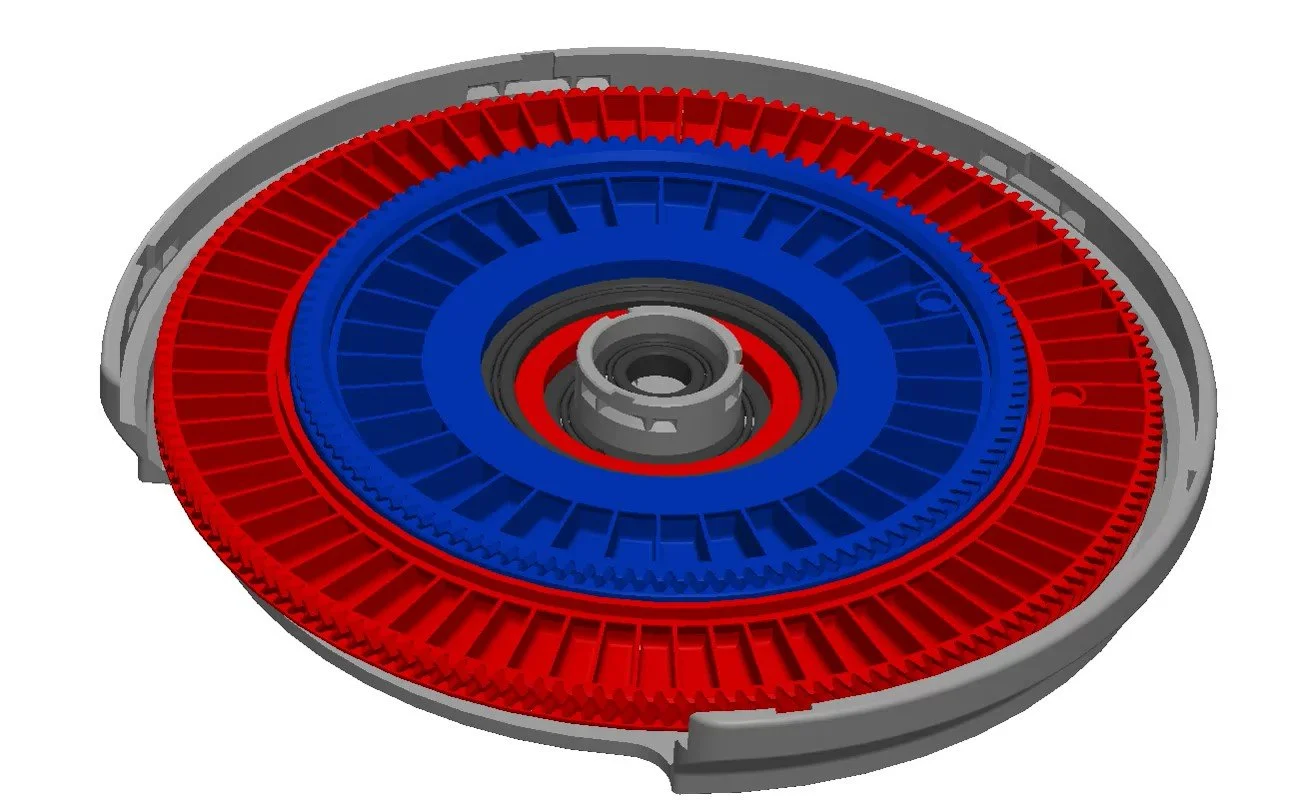
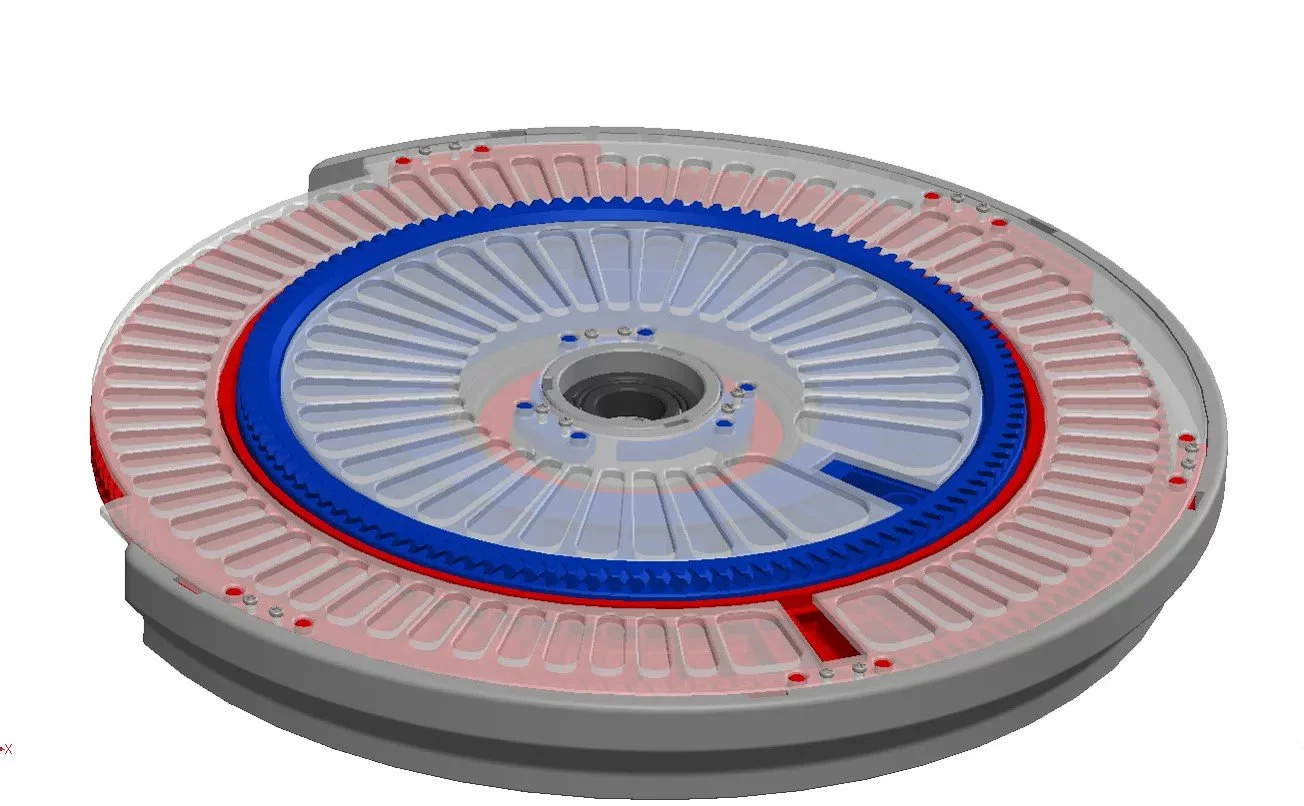
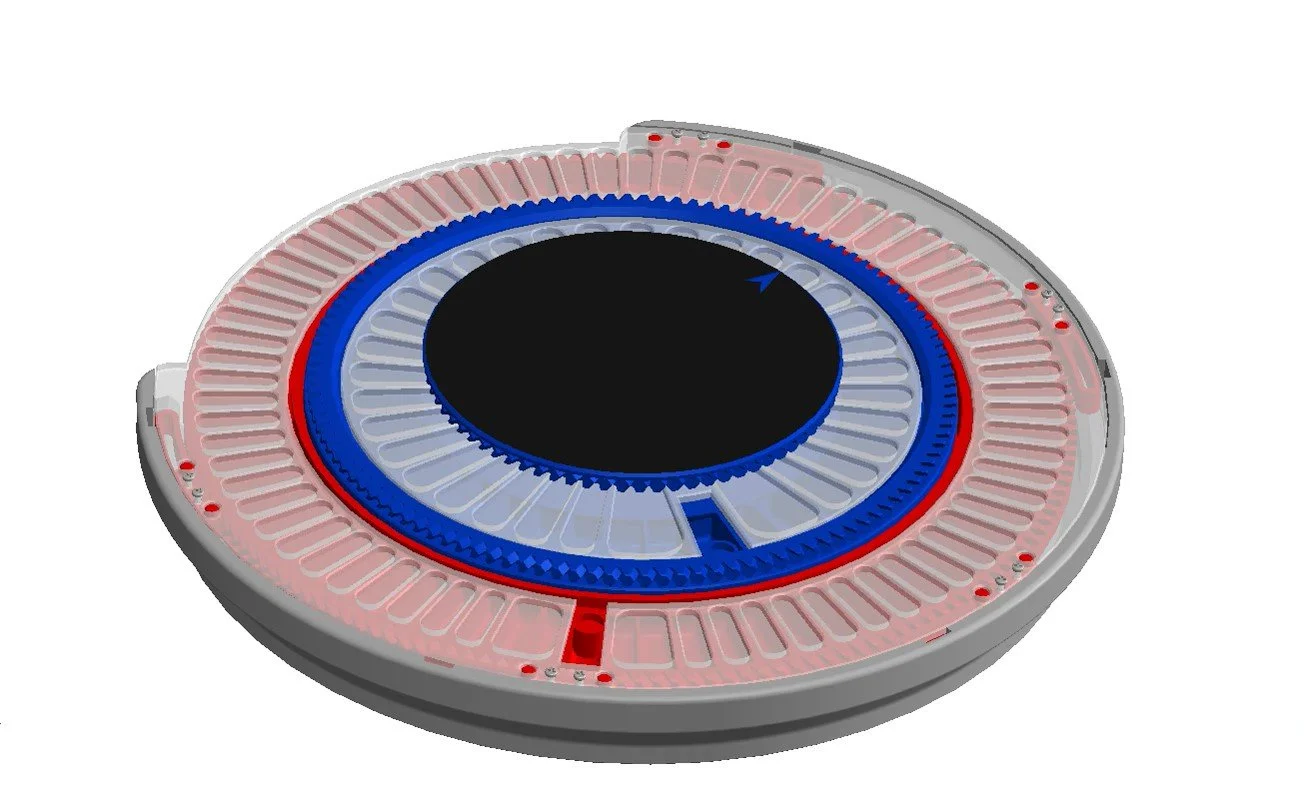
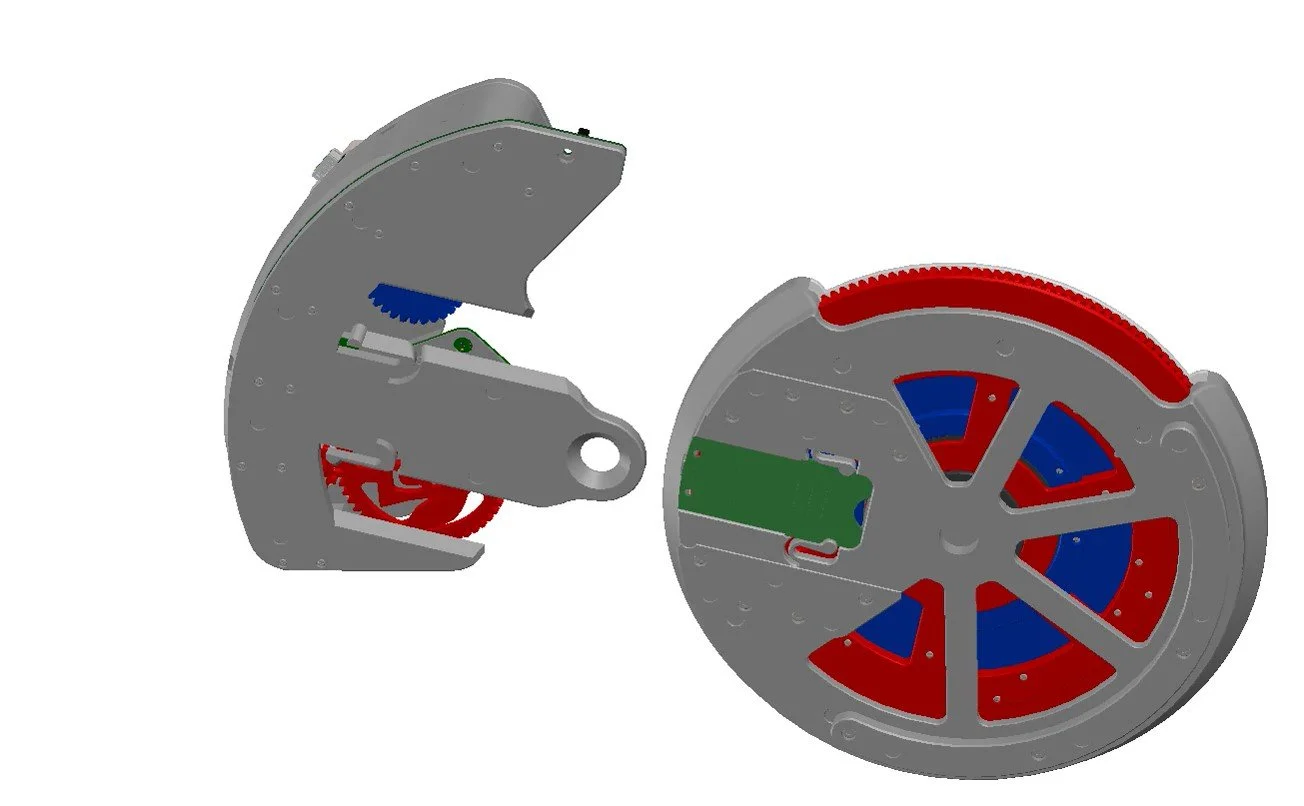
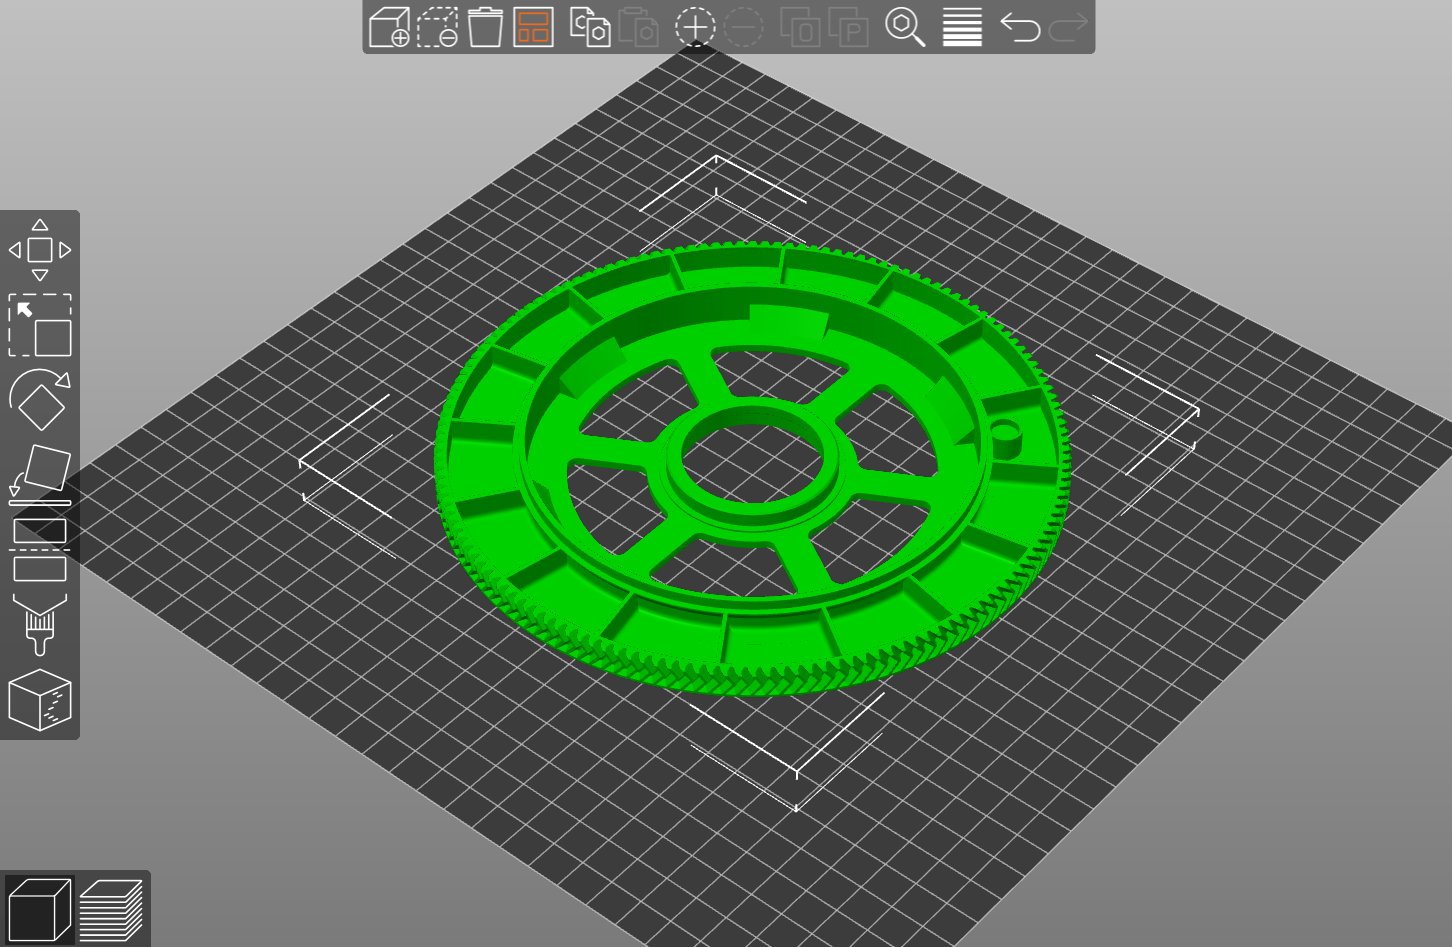
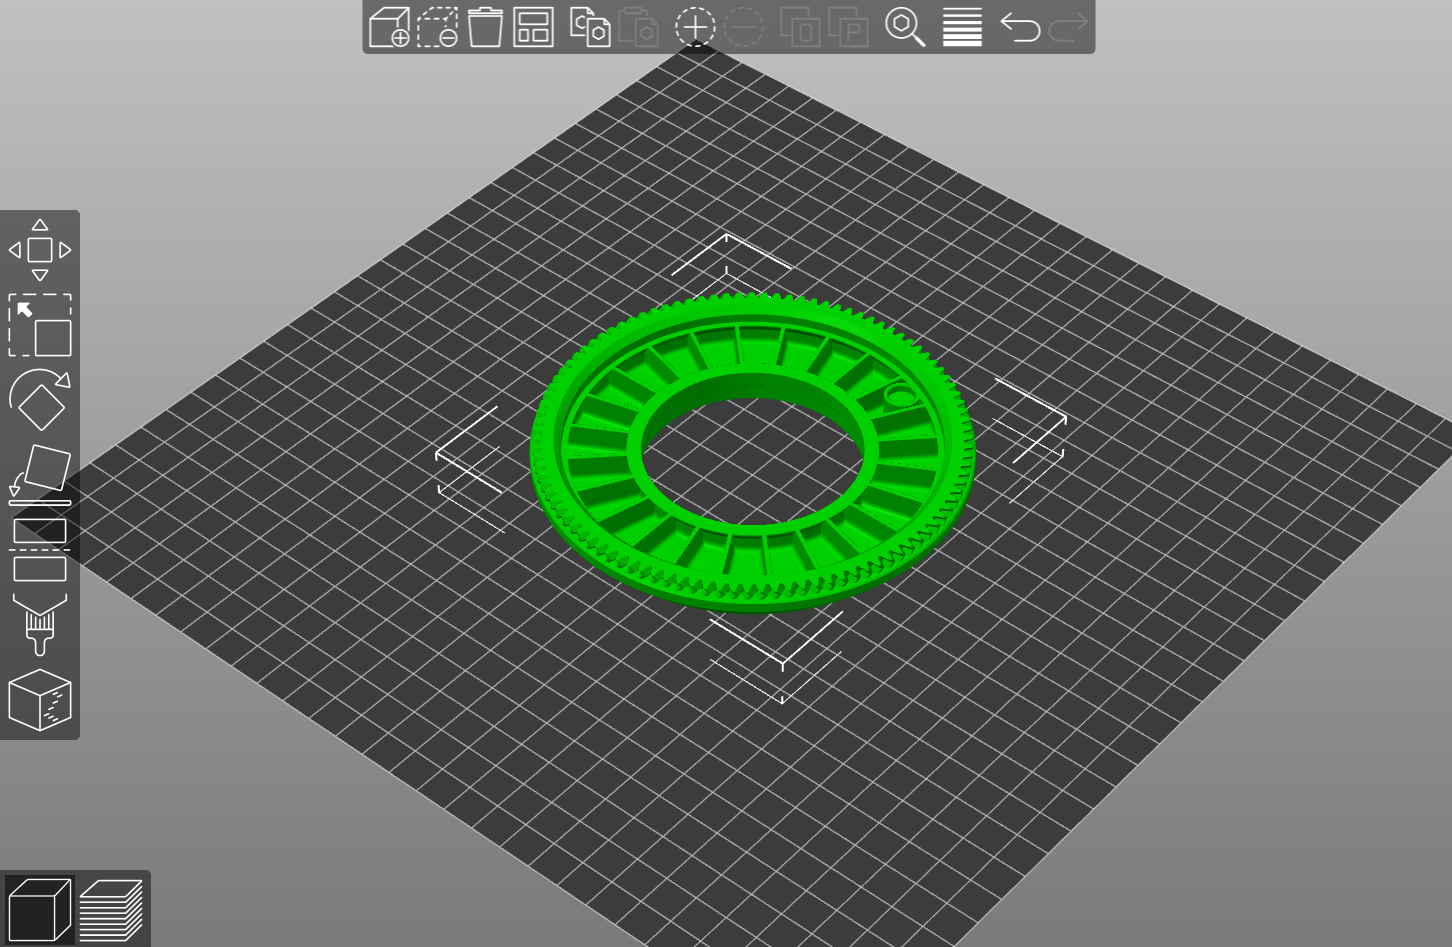
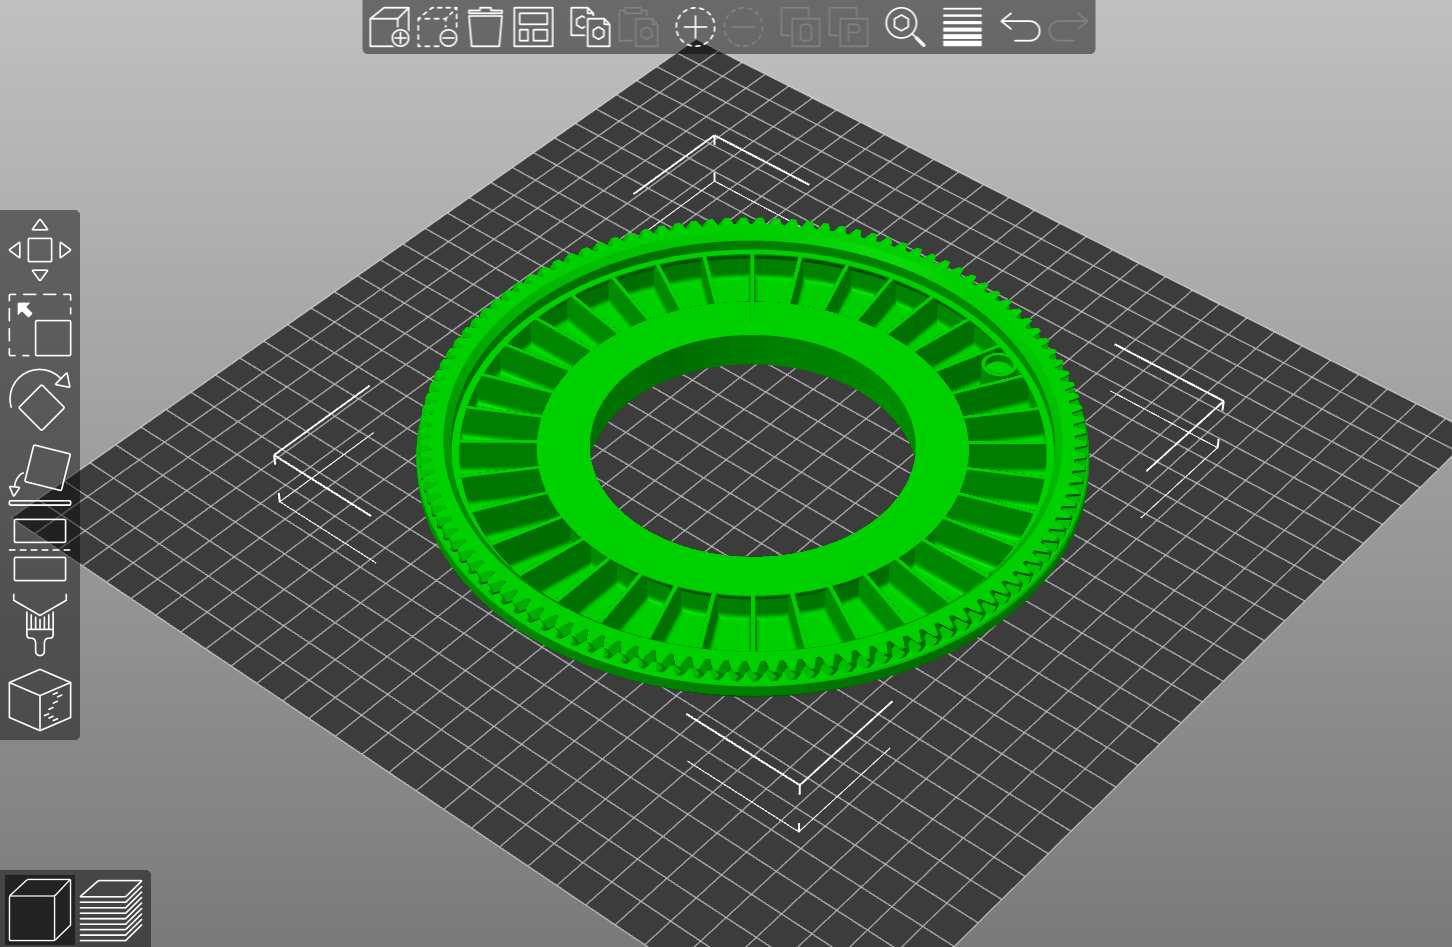
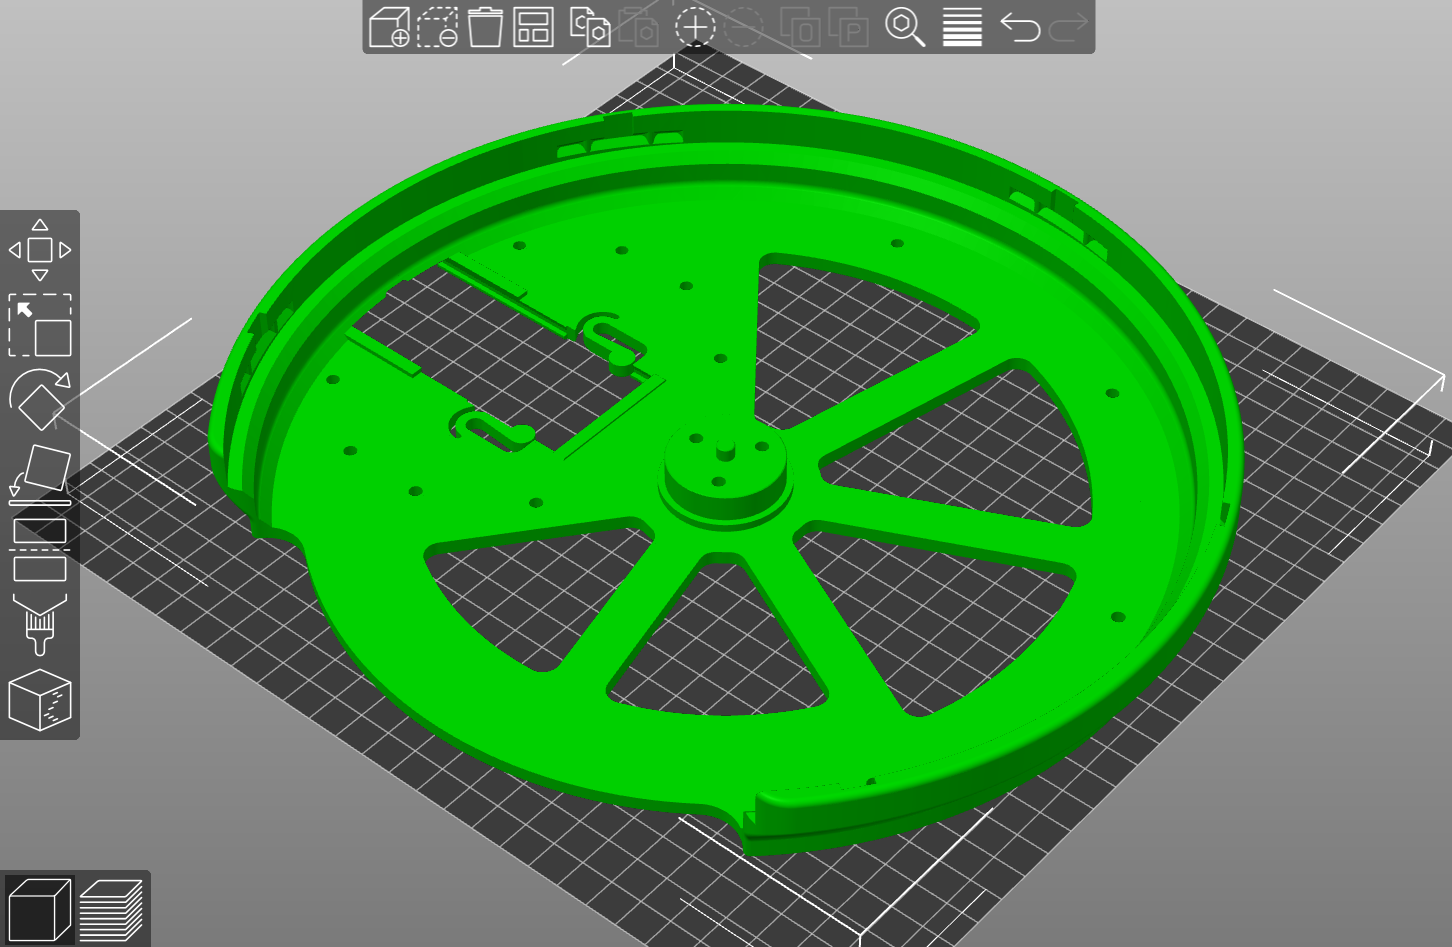
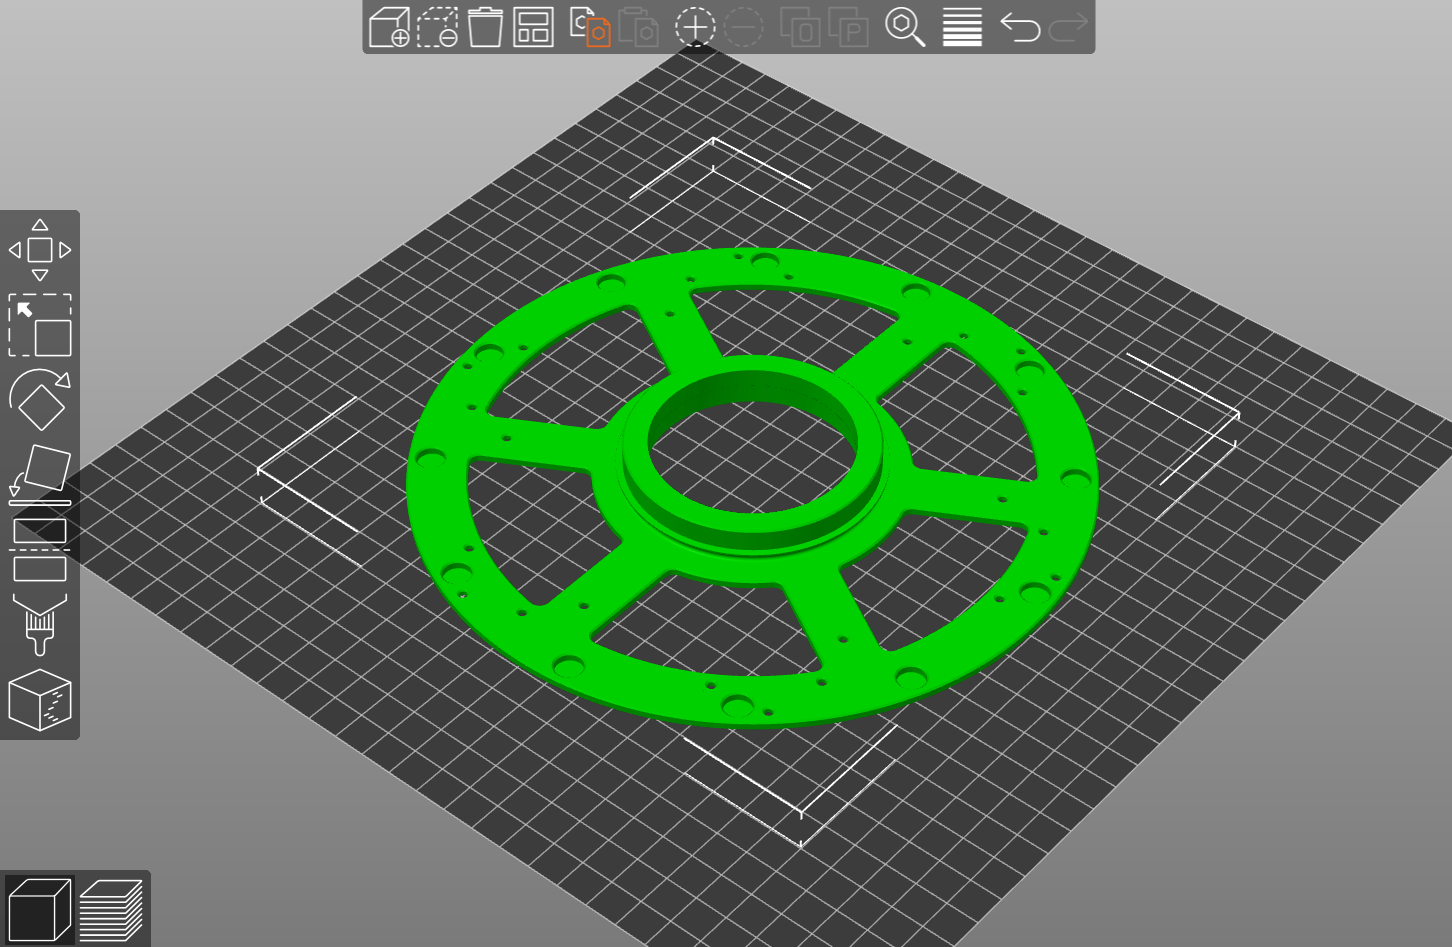
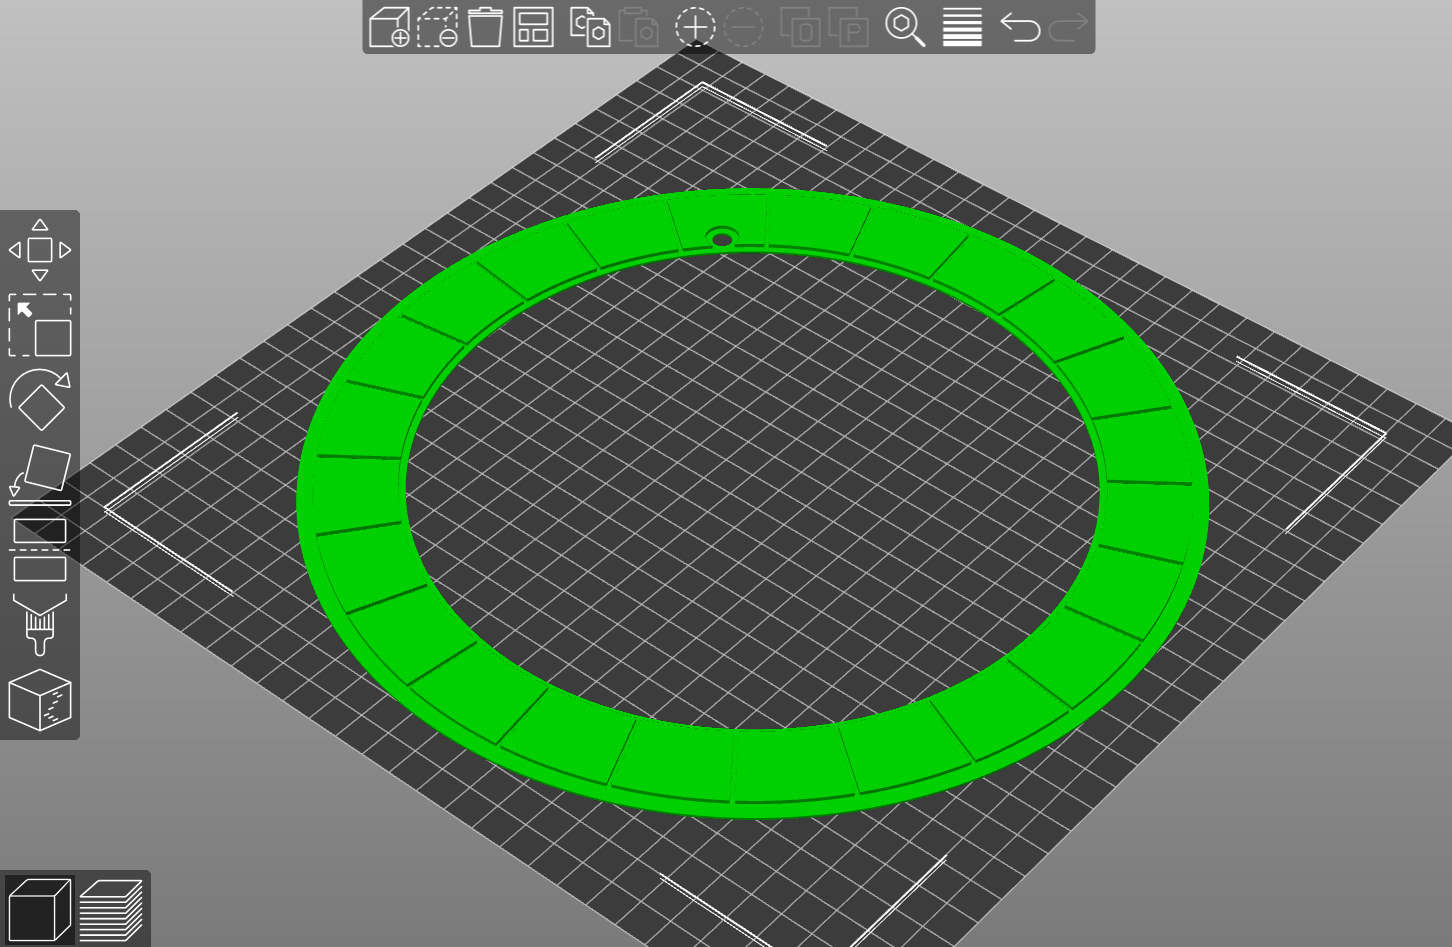
WHEEL 1
Pick ‘N’ Place Wheel
48 slot

OR 16 slot
Pick ‘N’ Place Wheel XL
72 slot
OR 24 slot

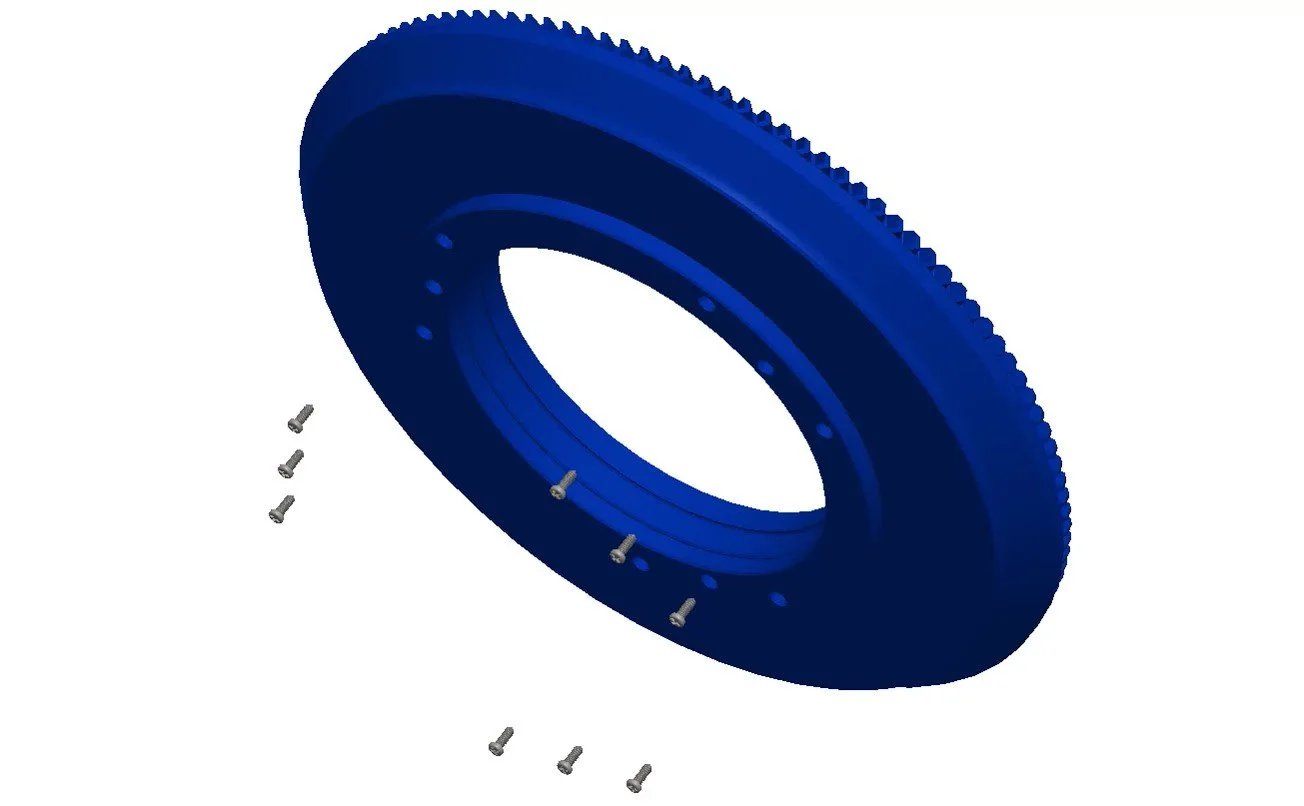
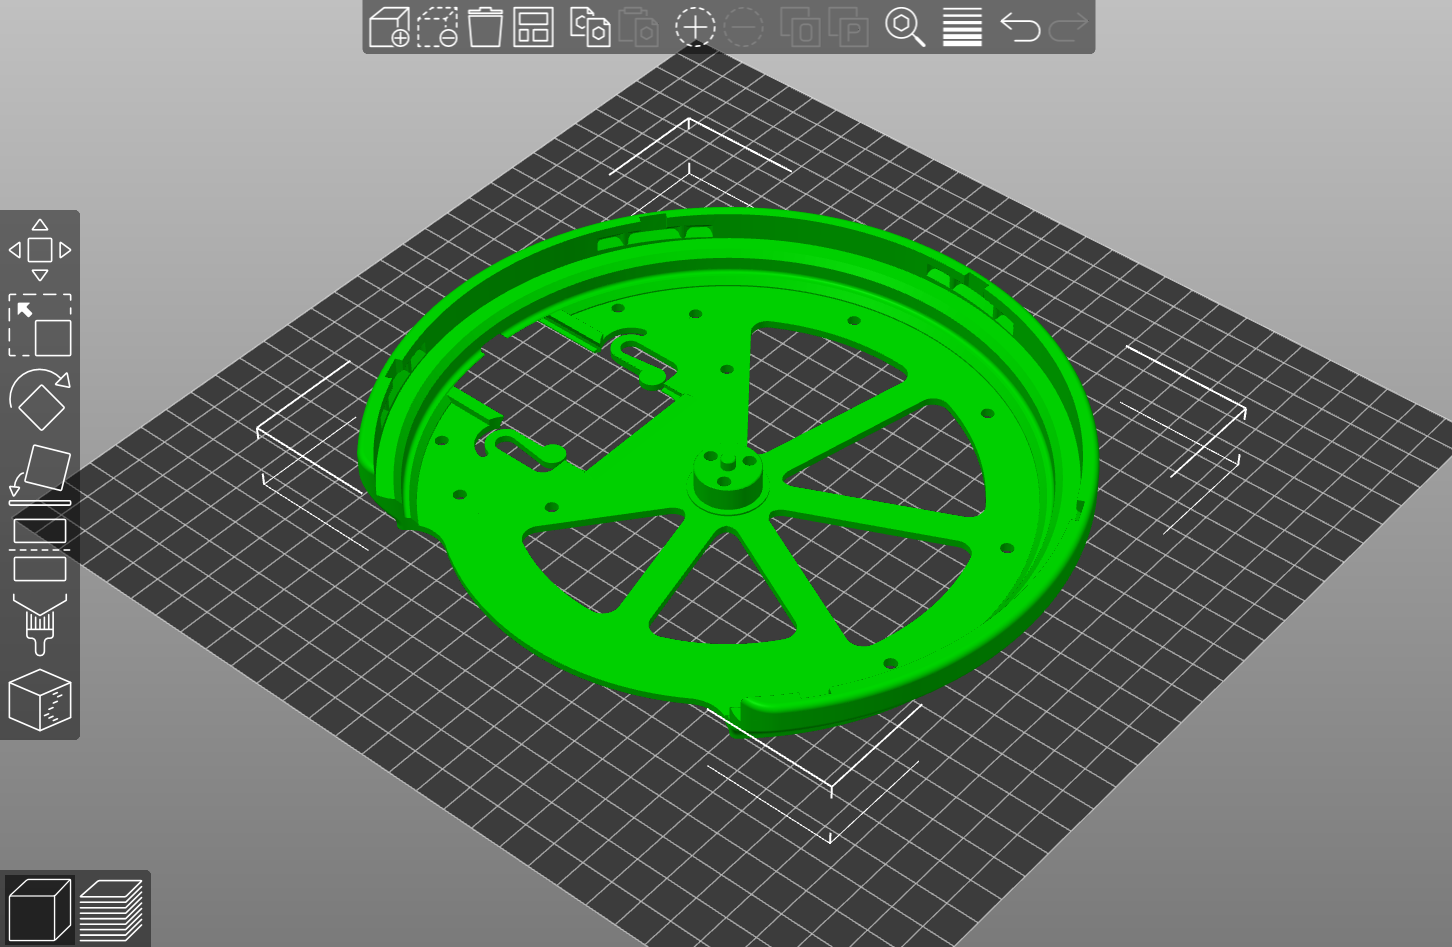
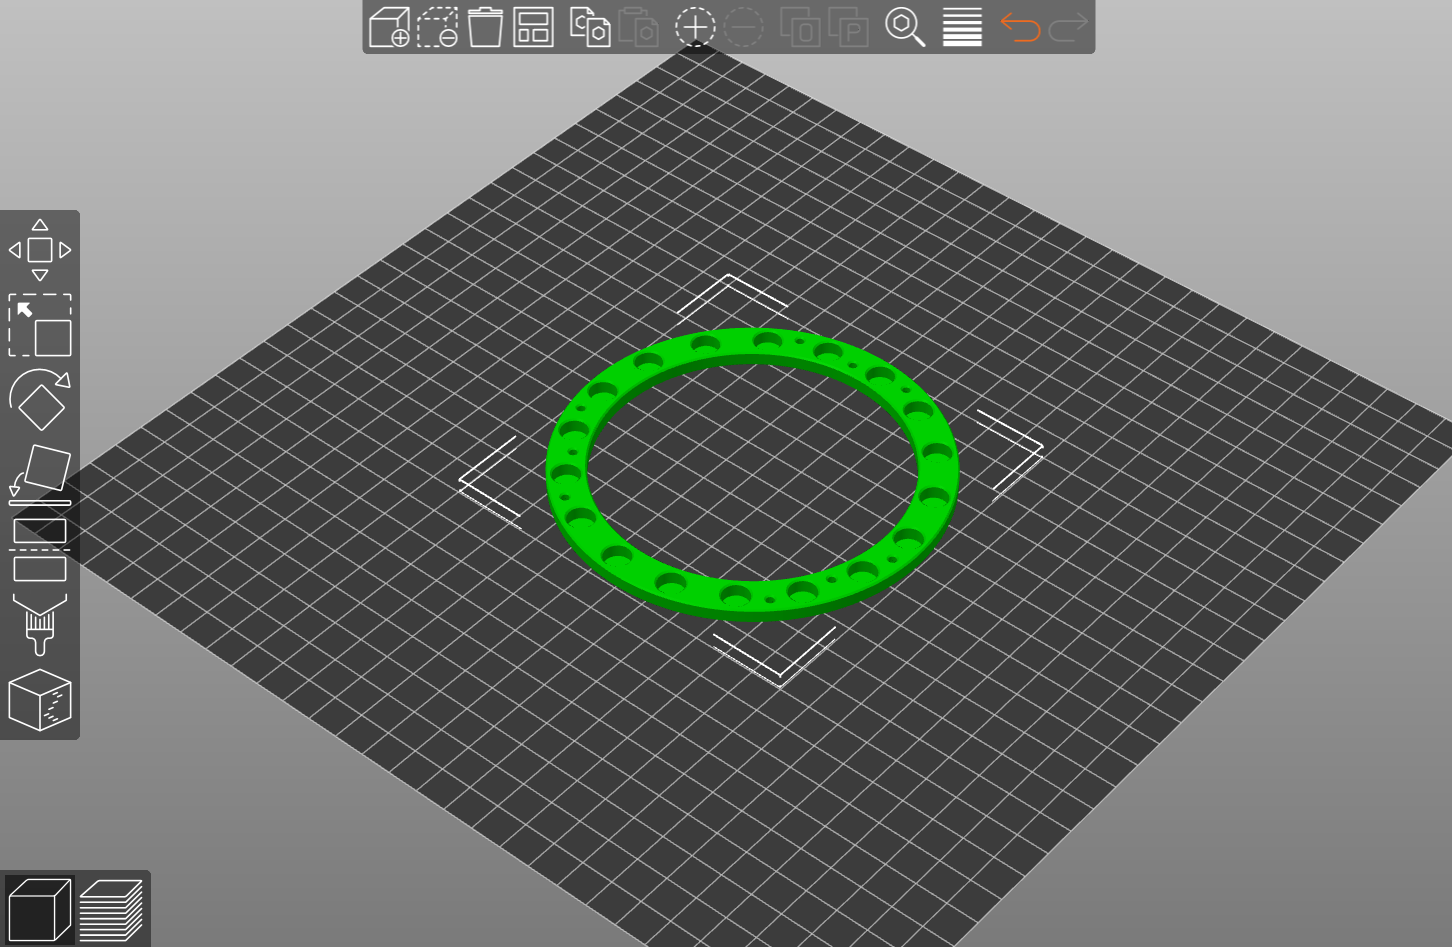
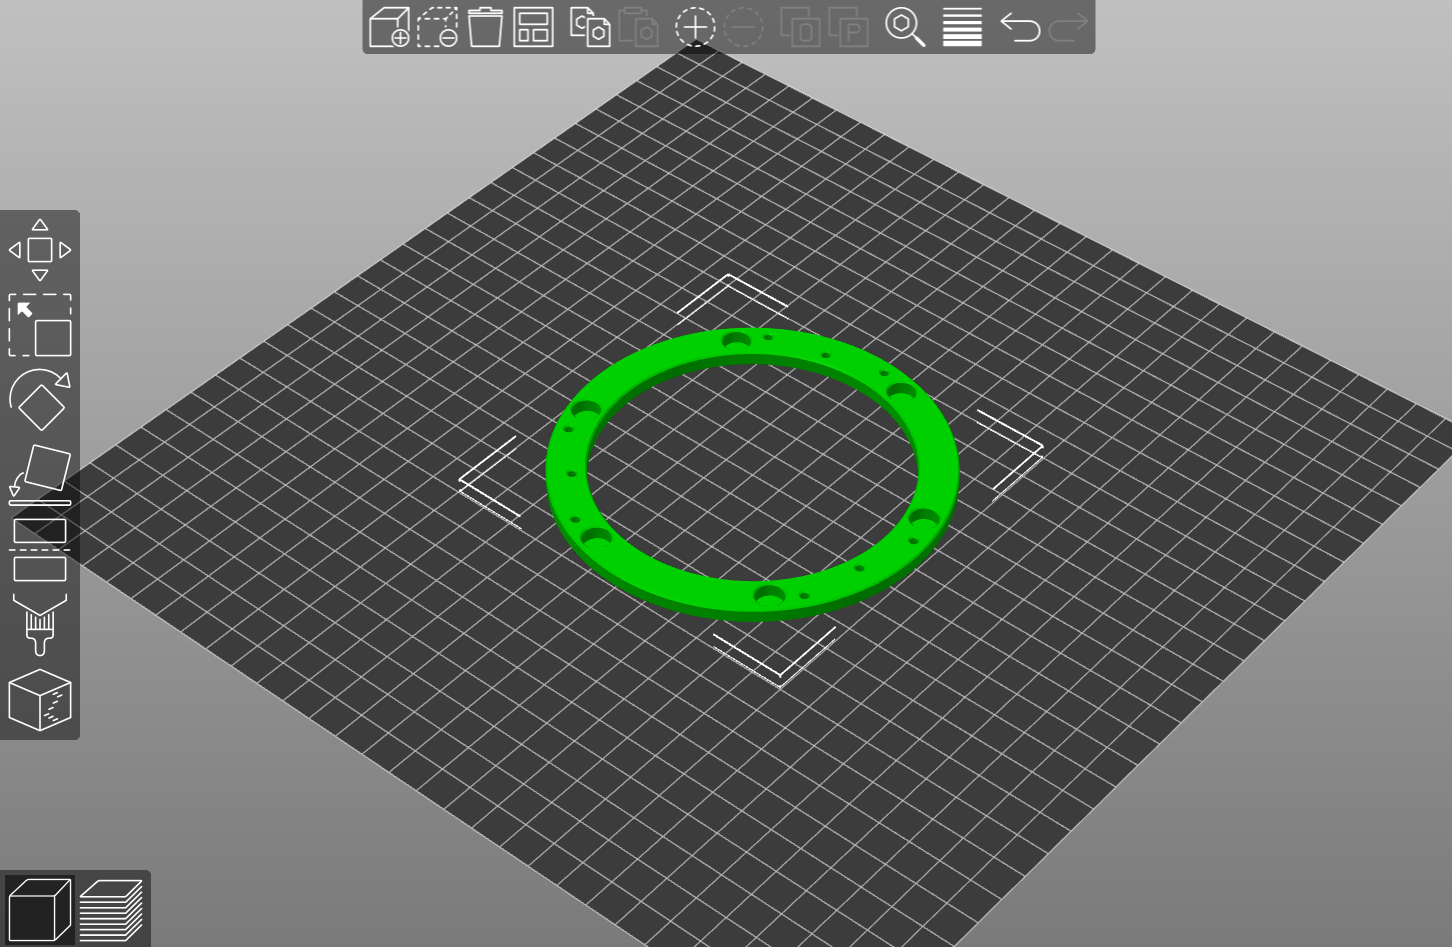
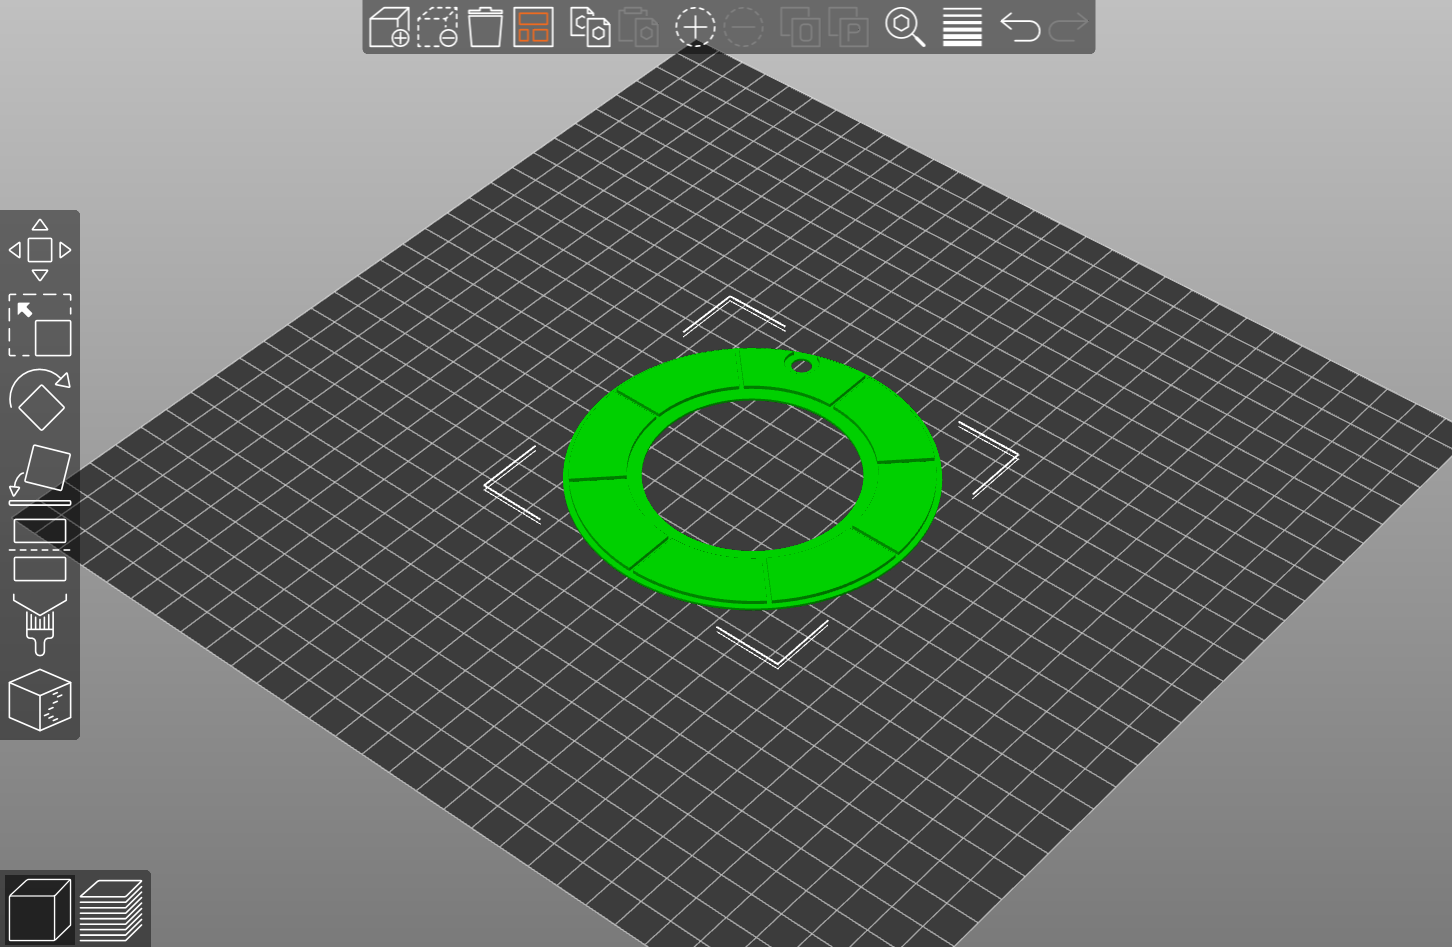
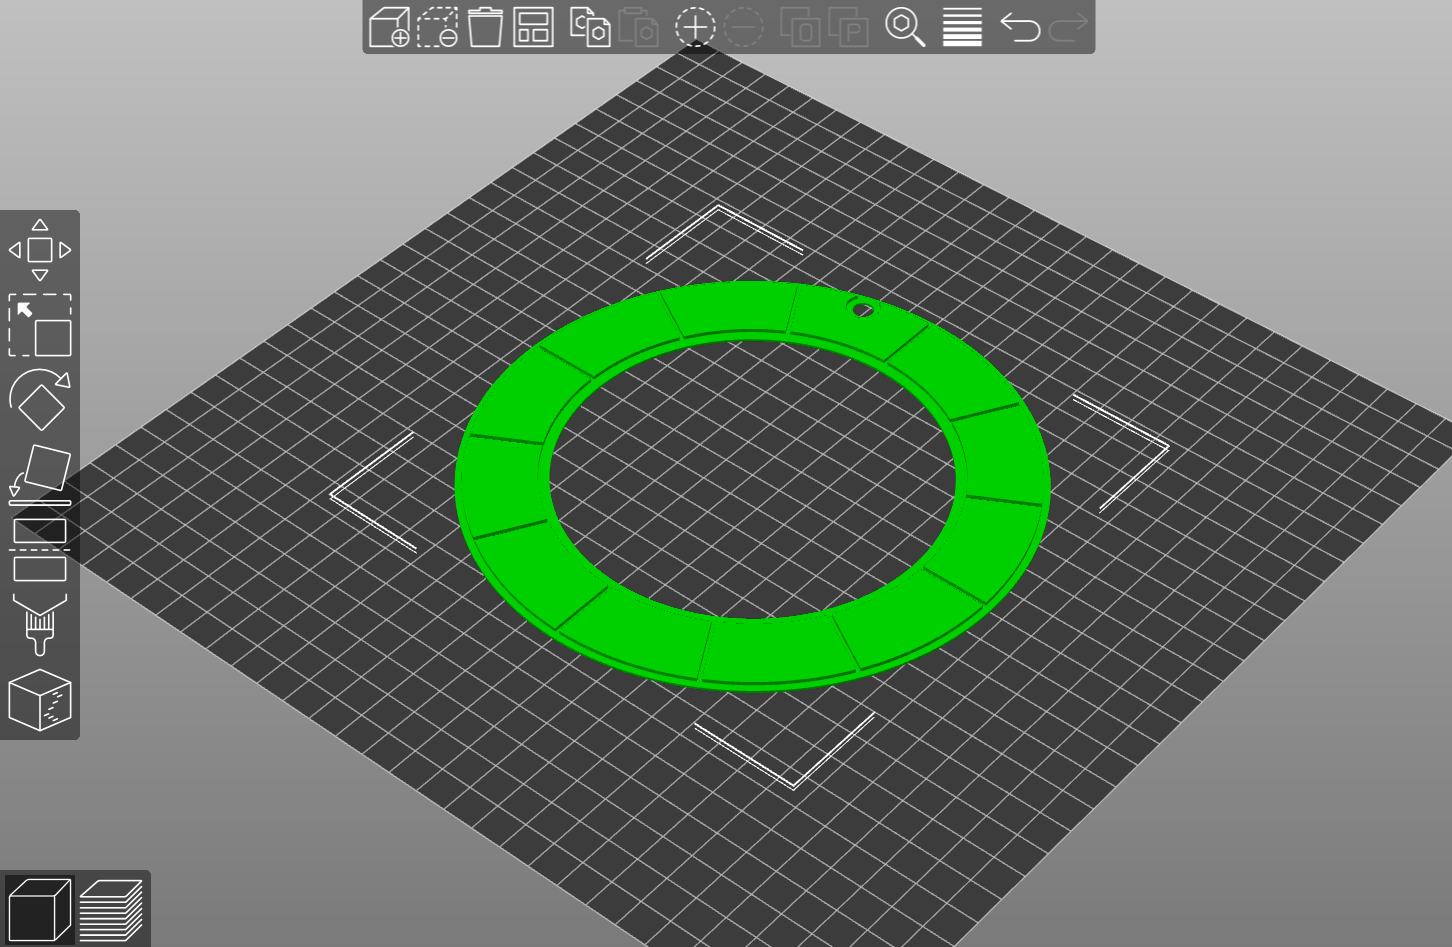
WHEEL 2
Pick ‘N’ Place Wheel
24 slot
OR 8 slot

Pick ‘N’ Place Wheel XL
36 slot
OR 12 slot

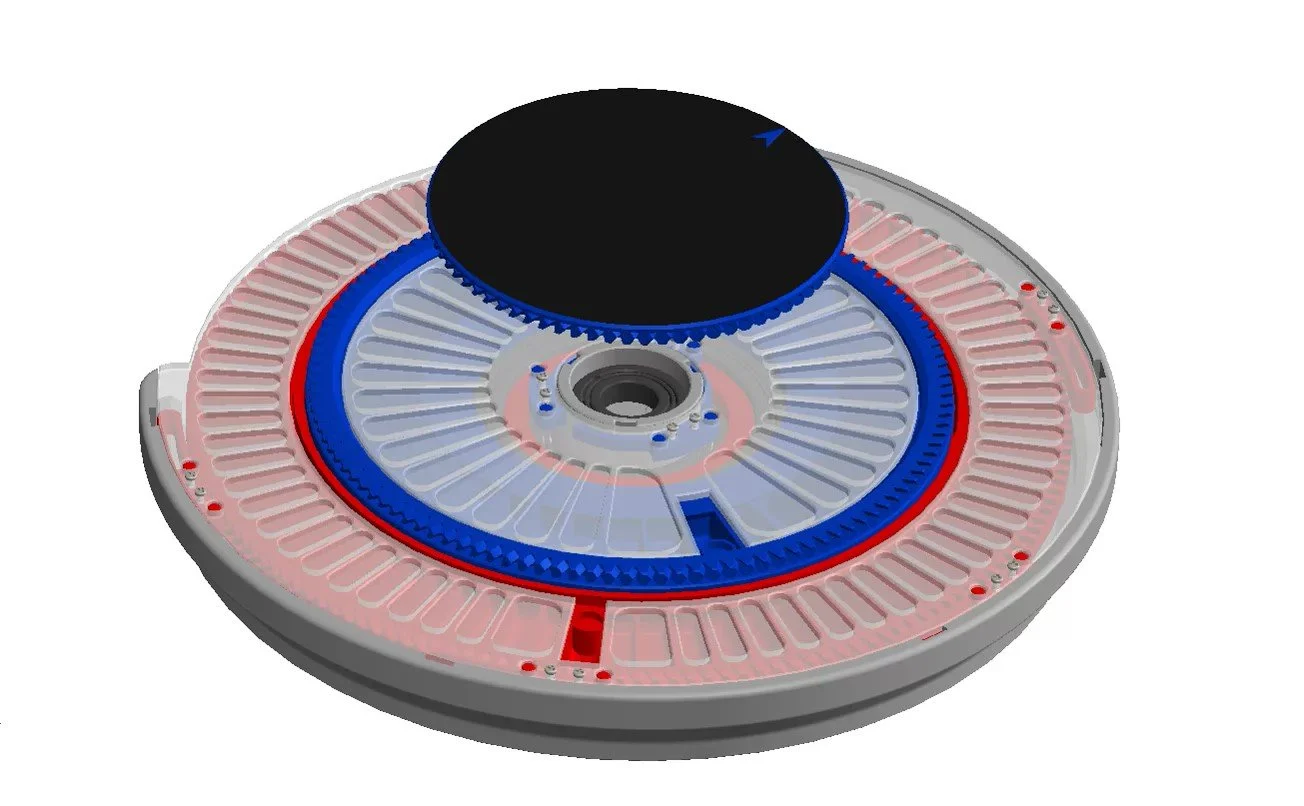
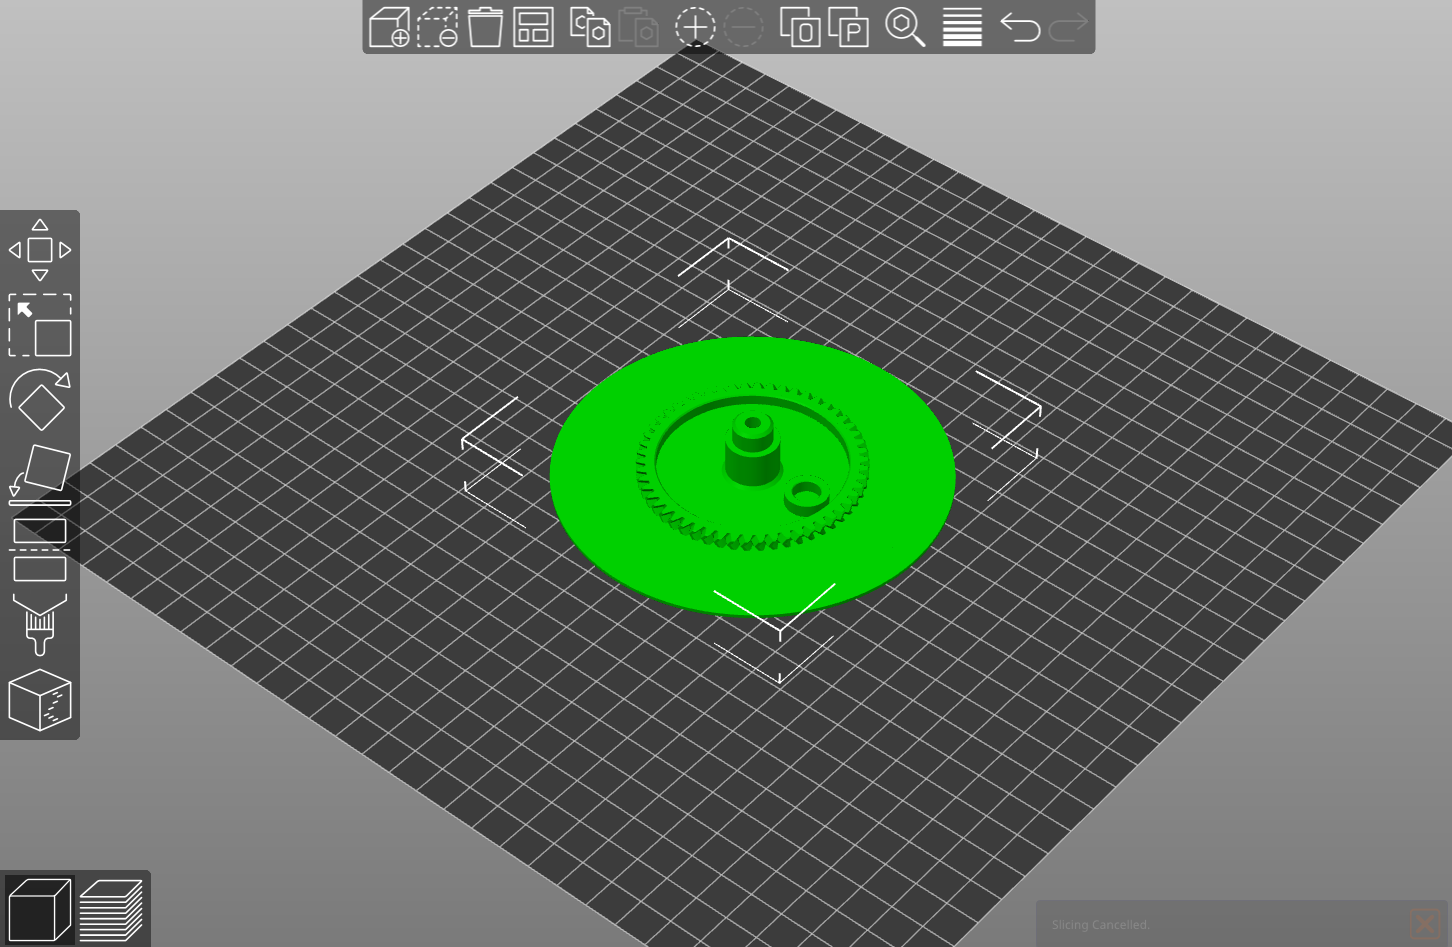
PLACING SURFACE
Pick ‘N’ Place Wheel
68.4mm Dia Surface: Default for this wheel size, and allows access to wheels 1 & 2.
OR 117mm Dia Surface: Large placing surface, allows access to only wheel 1.
Pick ‘N’ Place Wheel XL
123mm Dia Surface: Default for the XL wheel size, and allows access to wheels 1 & 2.
OR 179mm Dia Surface: Large placing surface, allows access to only wheel 1.

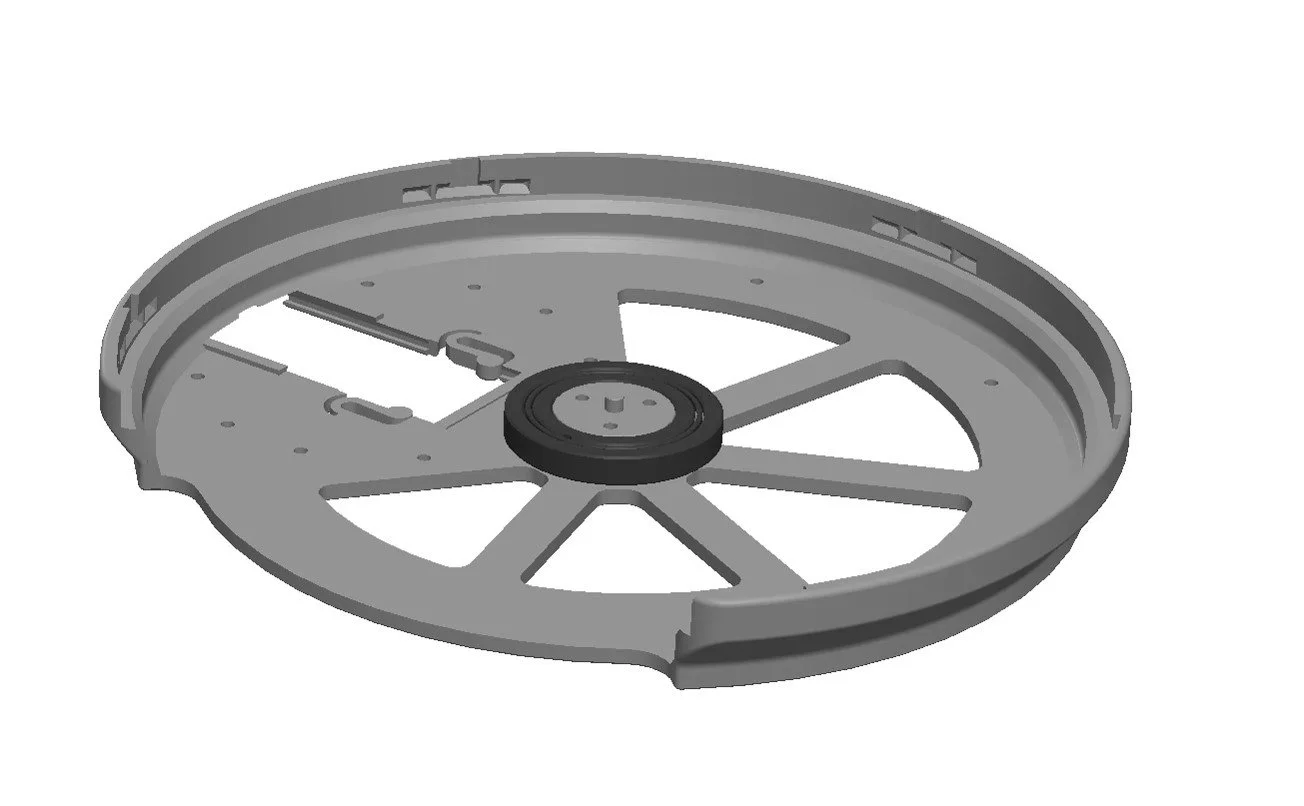
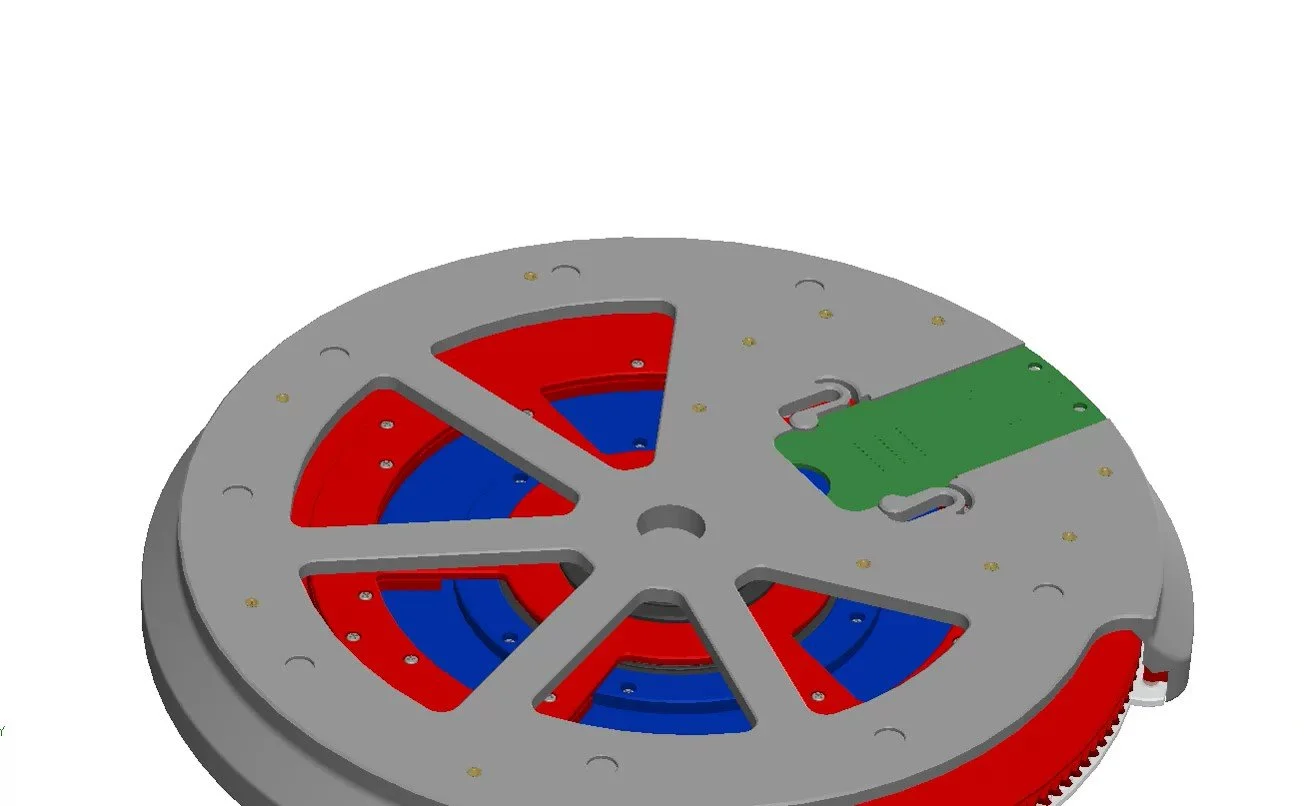
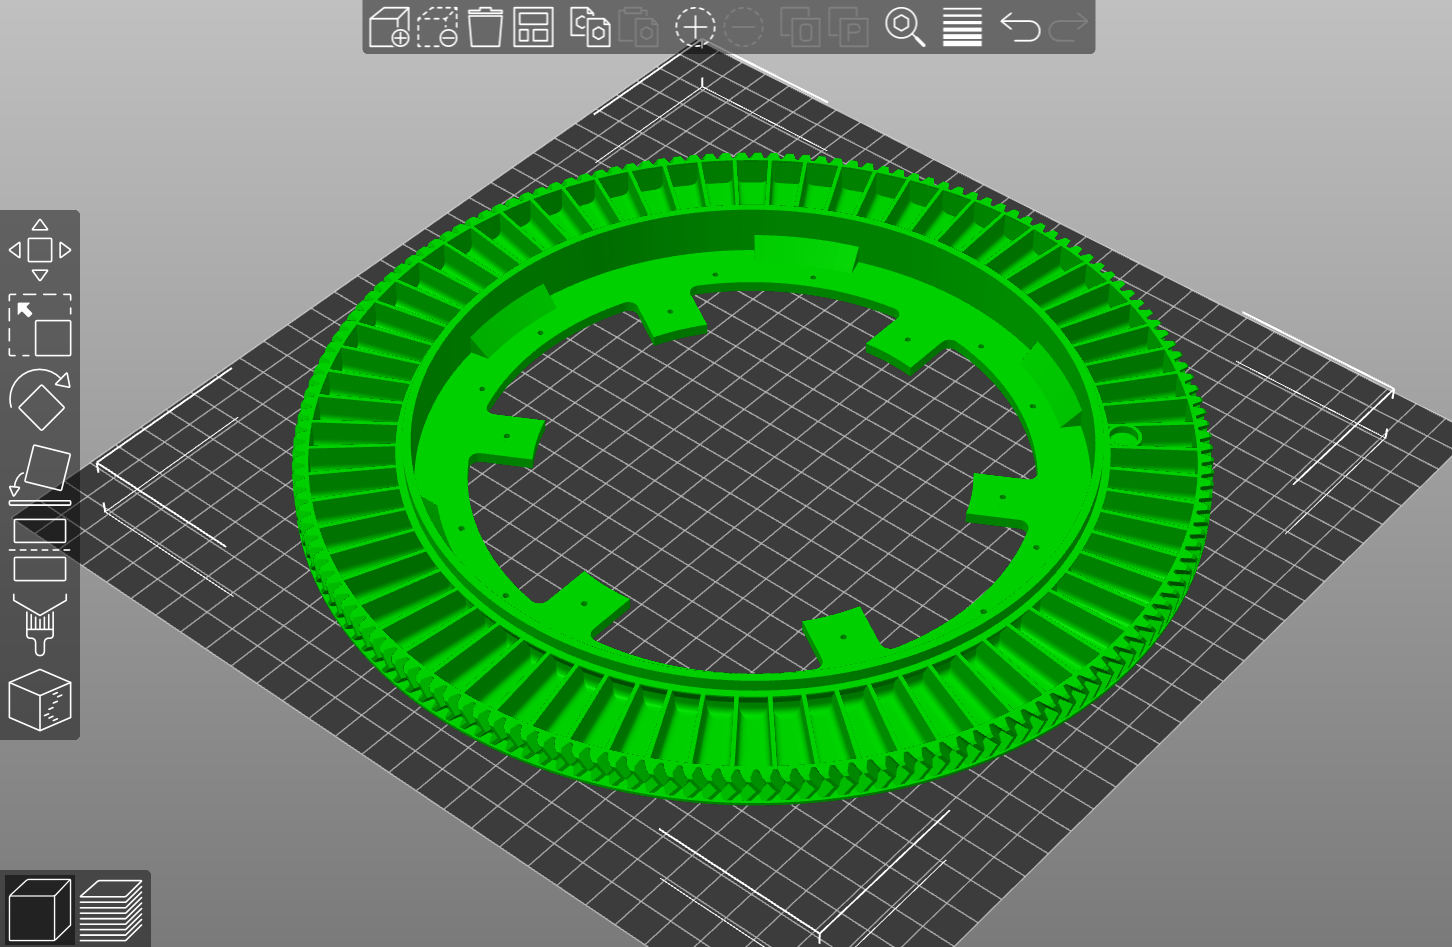
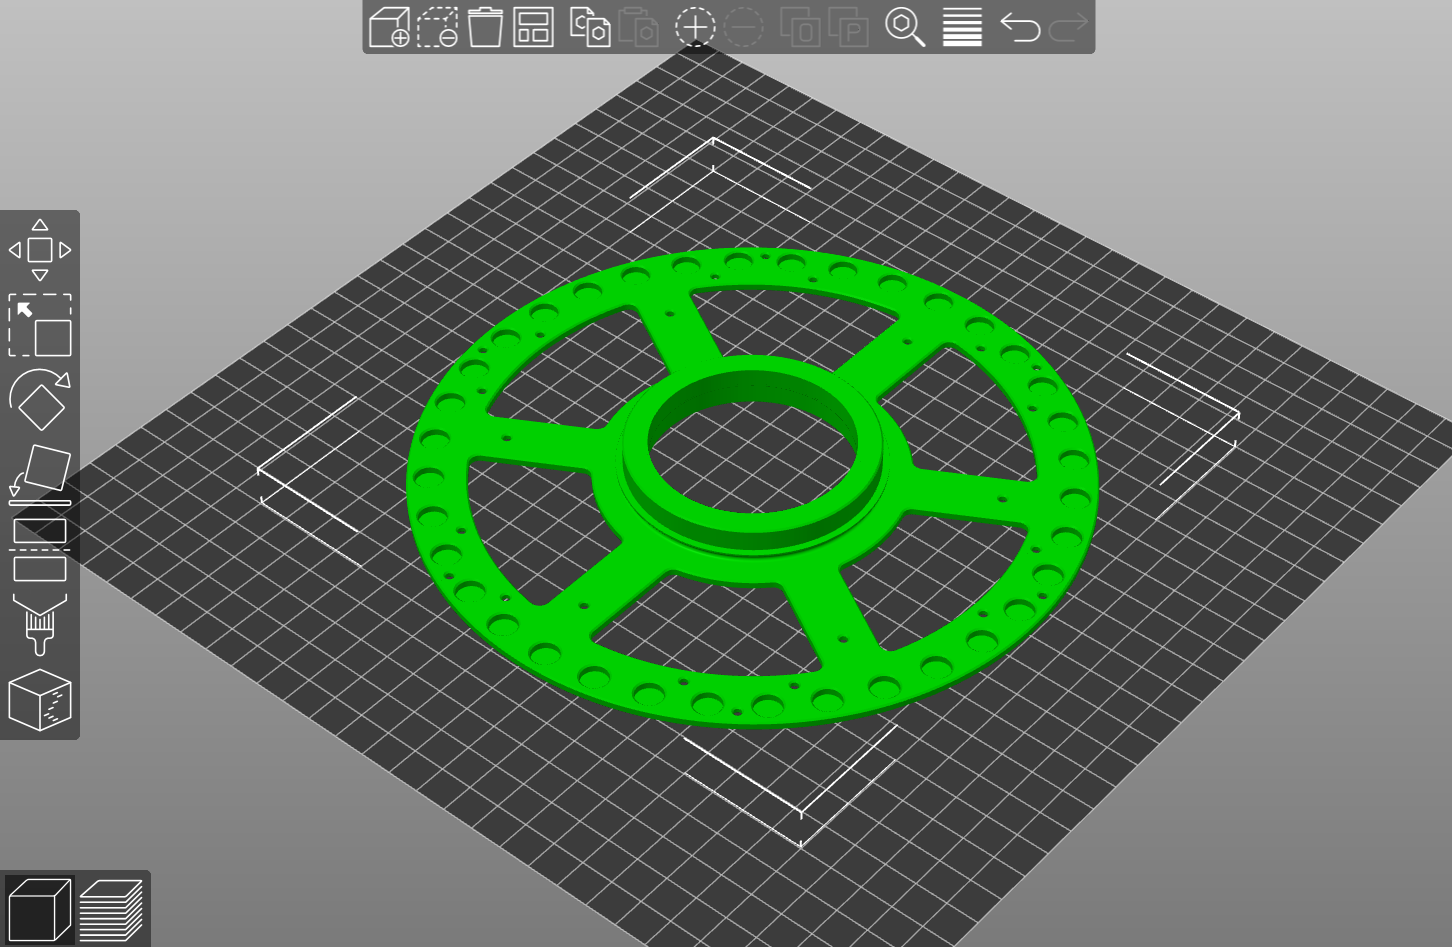
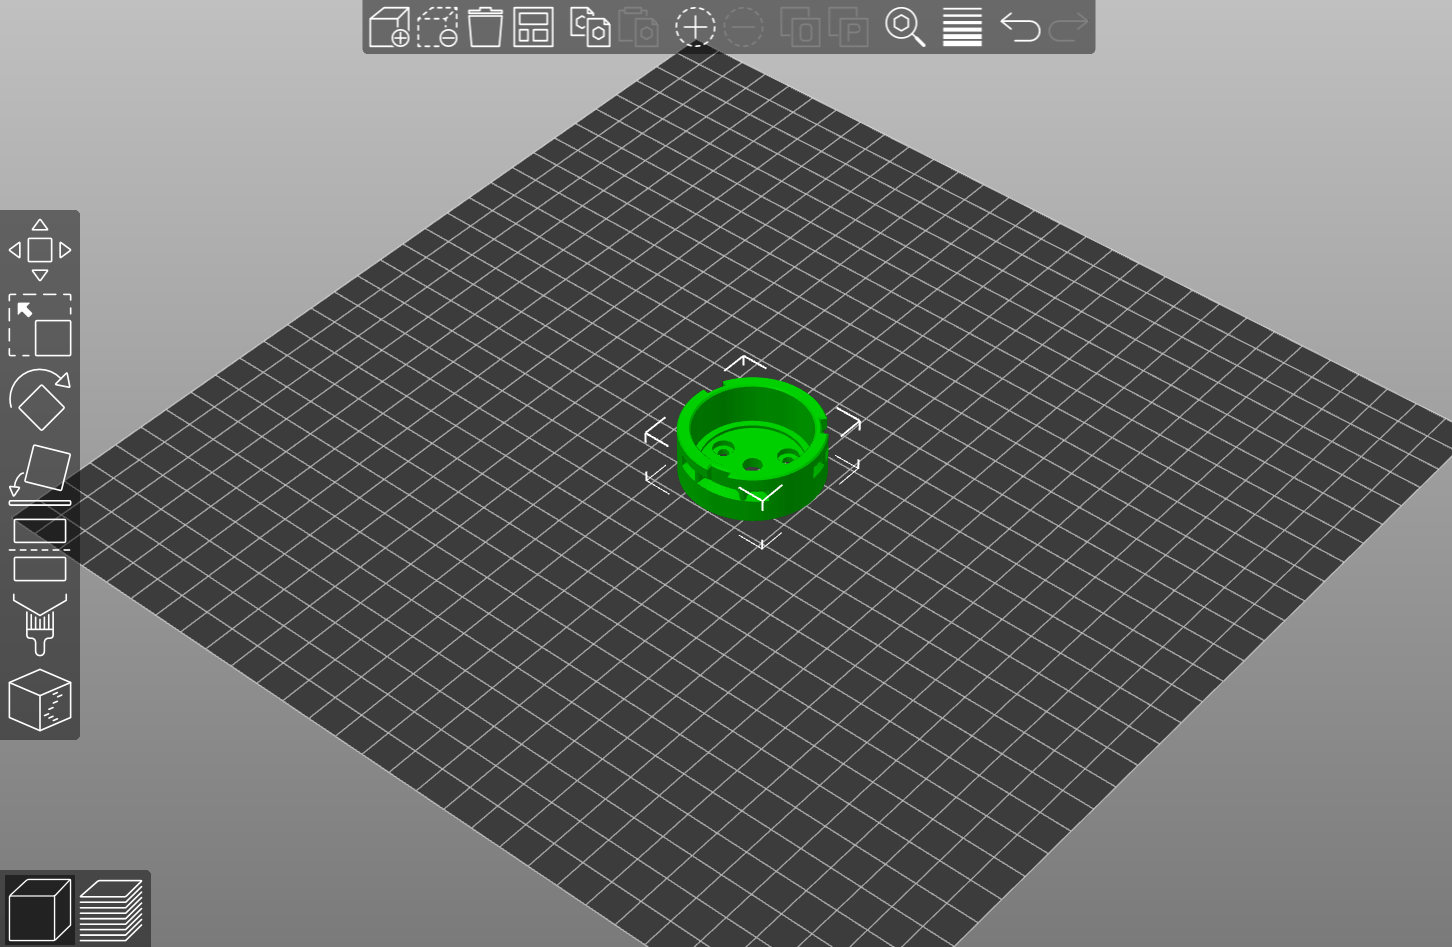
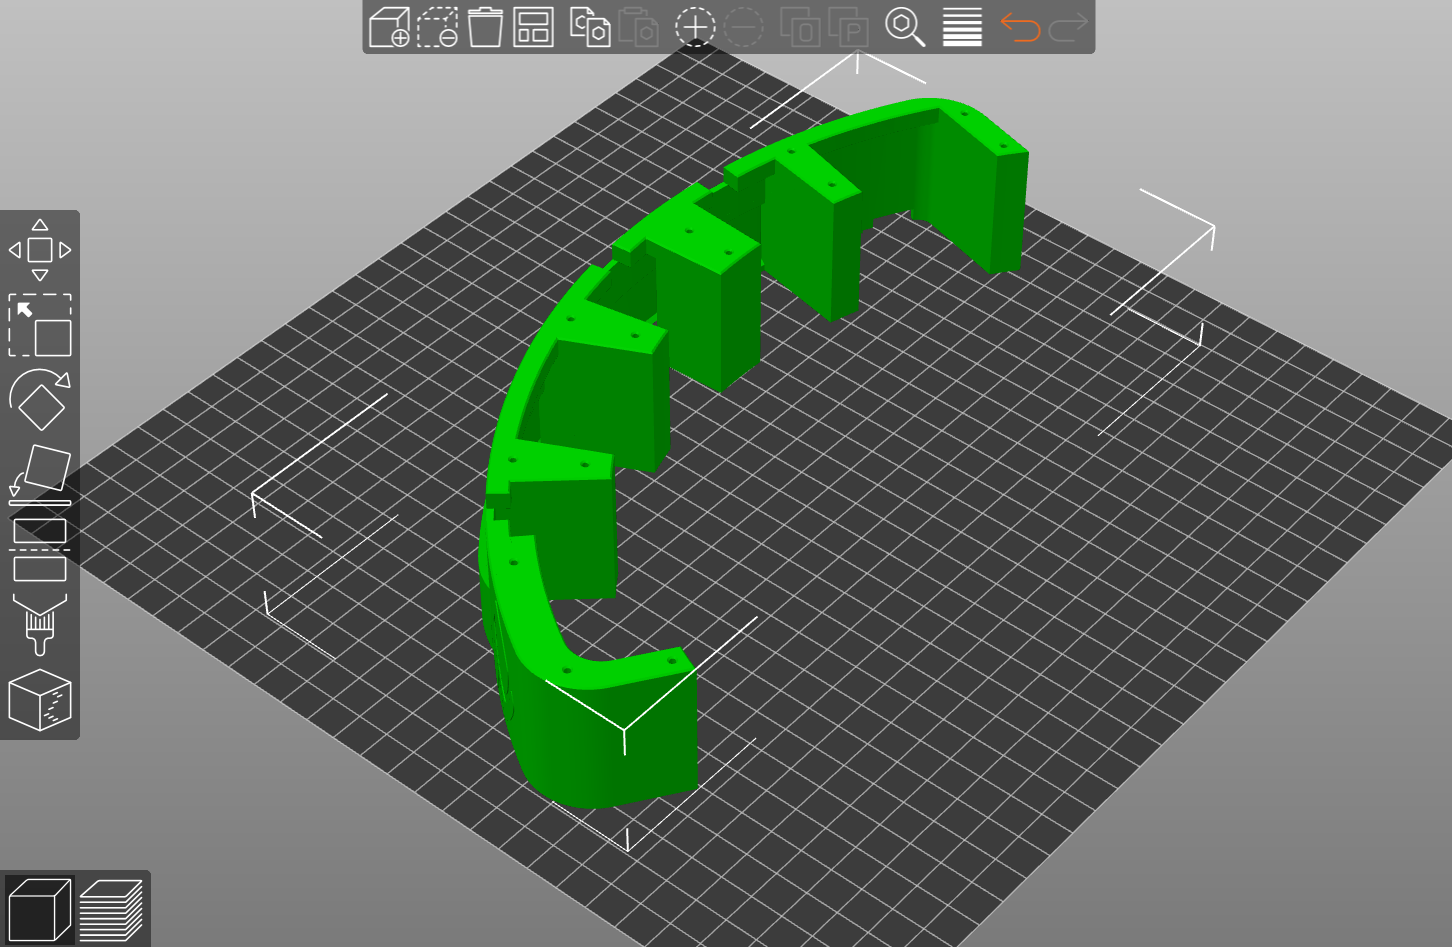
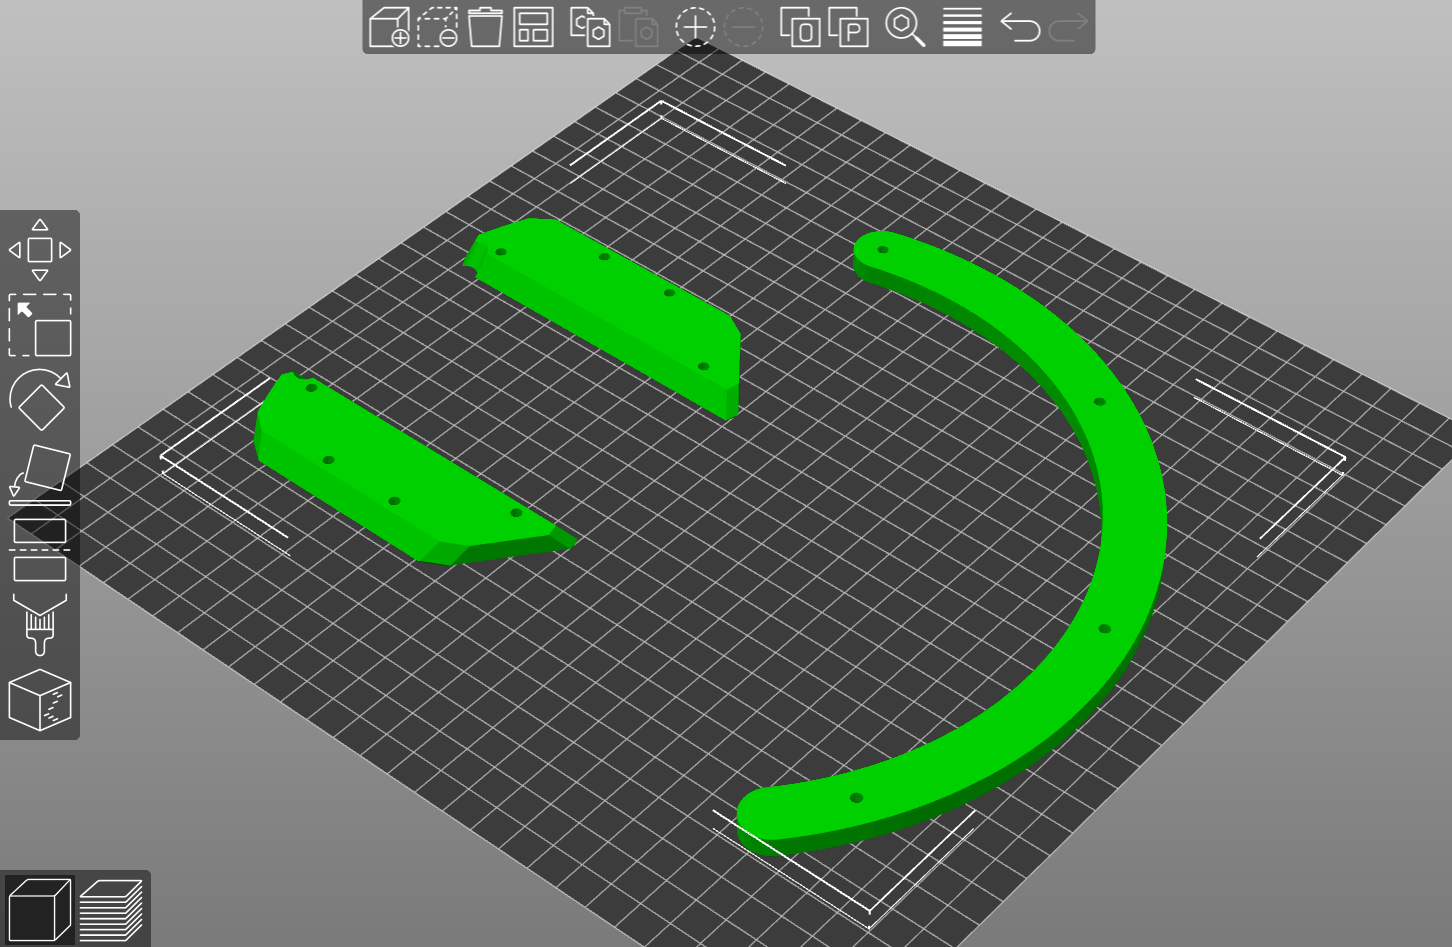
WHEEL BASE
Print with a high shell thickness, 3 - 4mm = 5 - 6 walls on a 0.6mm nozzle.
MAGNET HOLDERS
These parts are only required for the XL wheel, they are used to hold the encoding magnets.
Wheel 1 Magnet Holders
Magnet holder for 72-slot wheel
OR Magnet holder for 24-slot wheel
Wheel 2 Magnet Holders
Magnet holder for 36-slot wheel
OR Magnet holder for 12-slot wheel
TOP SURFACE BEARING HOLDER
SEALS
If you intend to move the wheel around a lot you may want to print these seals in TPU to secure the components in their slots, make sure to print the appropriate seal for your chosen wheel size and for the selected slot counts.
Pick ‘N’ Place Wheel
Wheel 1 Seal (48 or 16 slots)


Wheel 2 Seal (24 or 8 slots)

Pick ‘N’ Place Wheel XL
Wheel 1 Seal (72 or 24 slots)

Wheel 2 Seal (36 or 12 slots)

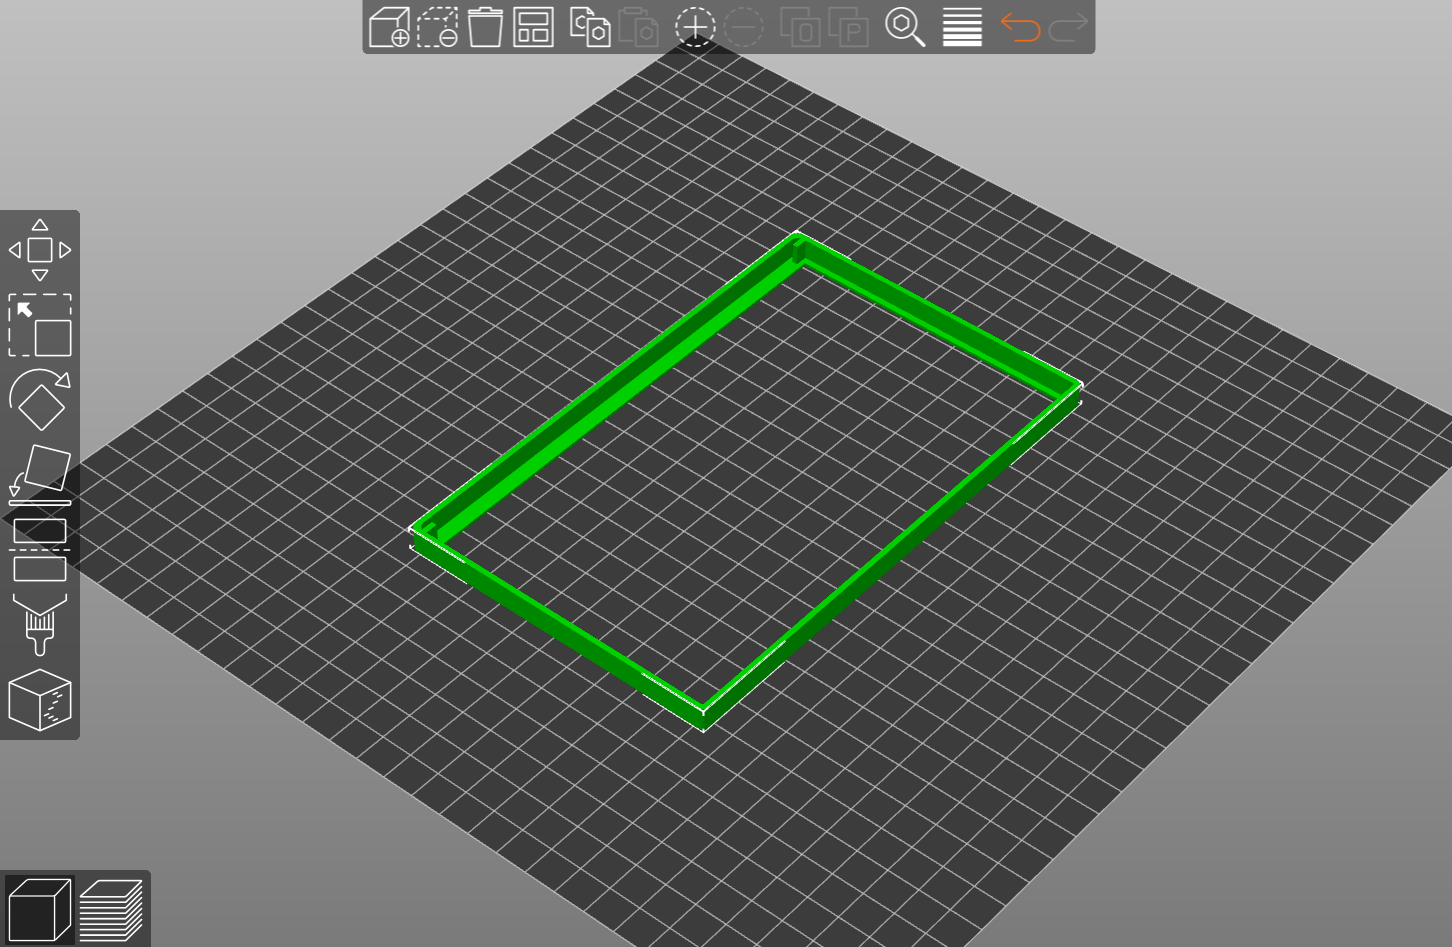
WHEEL COVERS
This is the transparent cover for the wheels, this parts can be 3D printed, Laser or CNC cut from transparent acrylic, DXF file included.
3D-printed wheel covers
Pick ‘N’ Place Wheel covers (wheel 1/ 2 - 48/ 24 slot)

Pick ‘N’ Place Wheel XL covers (wheel 1/ 2 - 72/ 36 slot)
CNC wheel covers
WHEEL KEYS
These are used to lock the wheels to prevent them from rotating, they are also useful for isolating the rotation of each wheel when using the manual Pick ‘N’ Place Wheel.
Wheel 1 & 2 Keys

WHEEL LOCKING TABS
These are used with the wheel covers to achieve the turn-to-lock mechanism for the wheels.
Wheel 1 Tabs (5pcs)
Wheel 2 Tabs (3pcs)
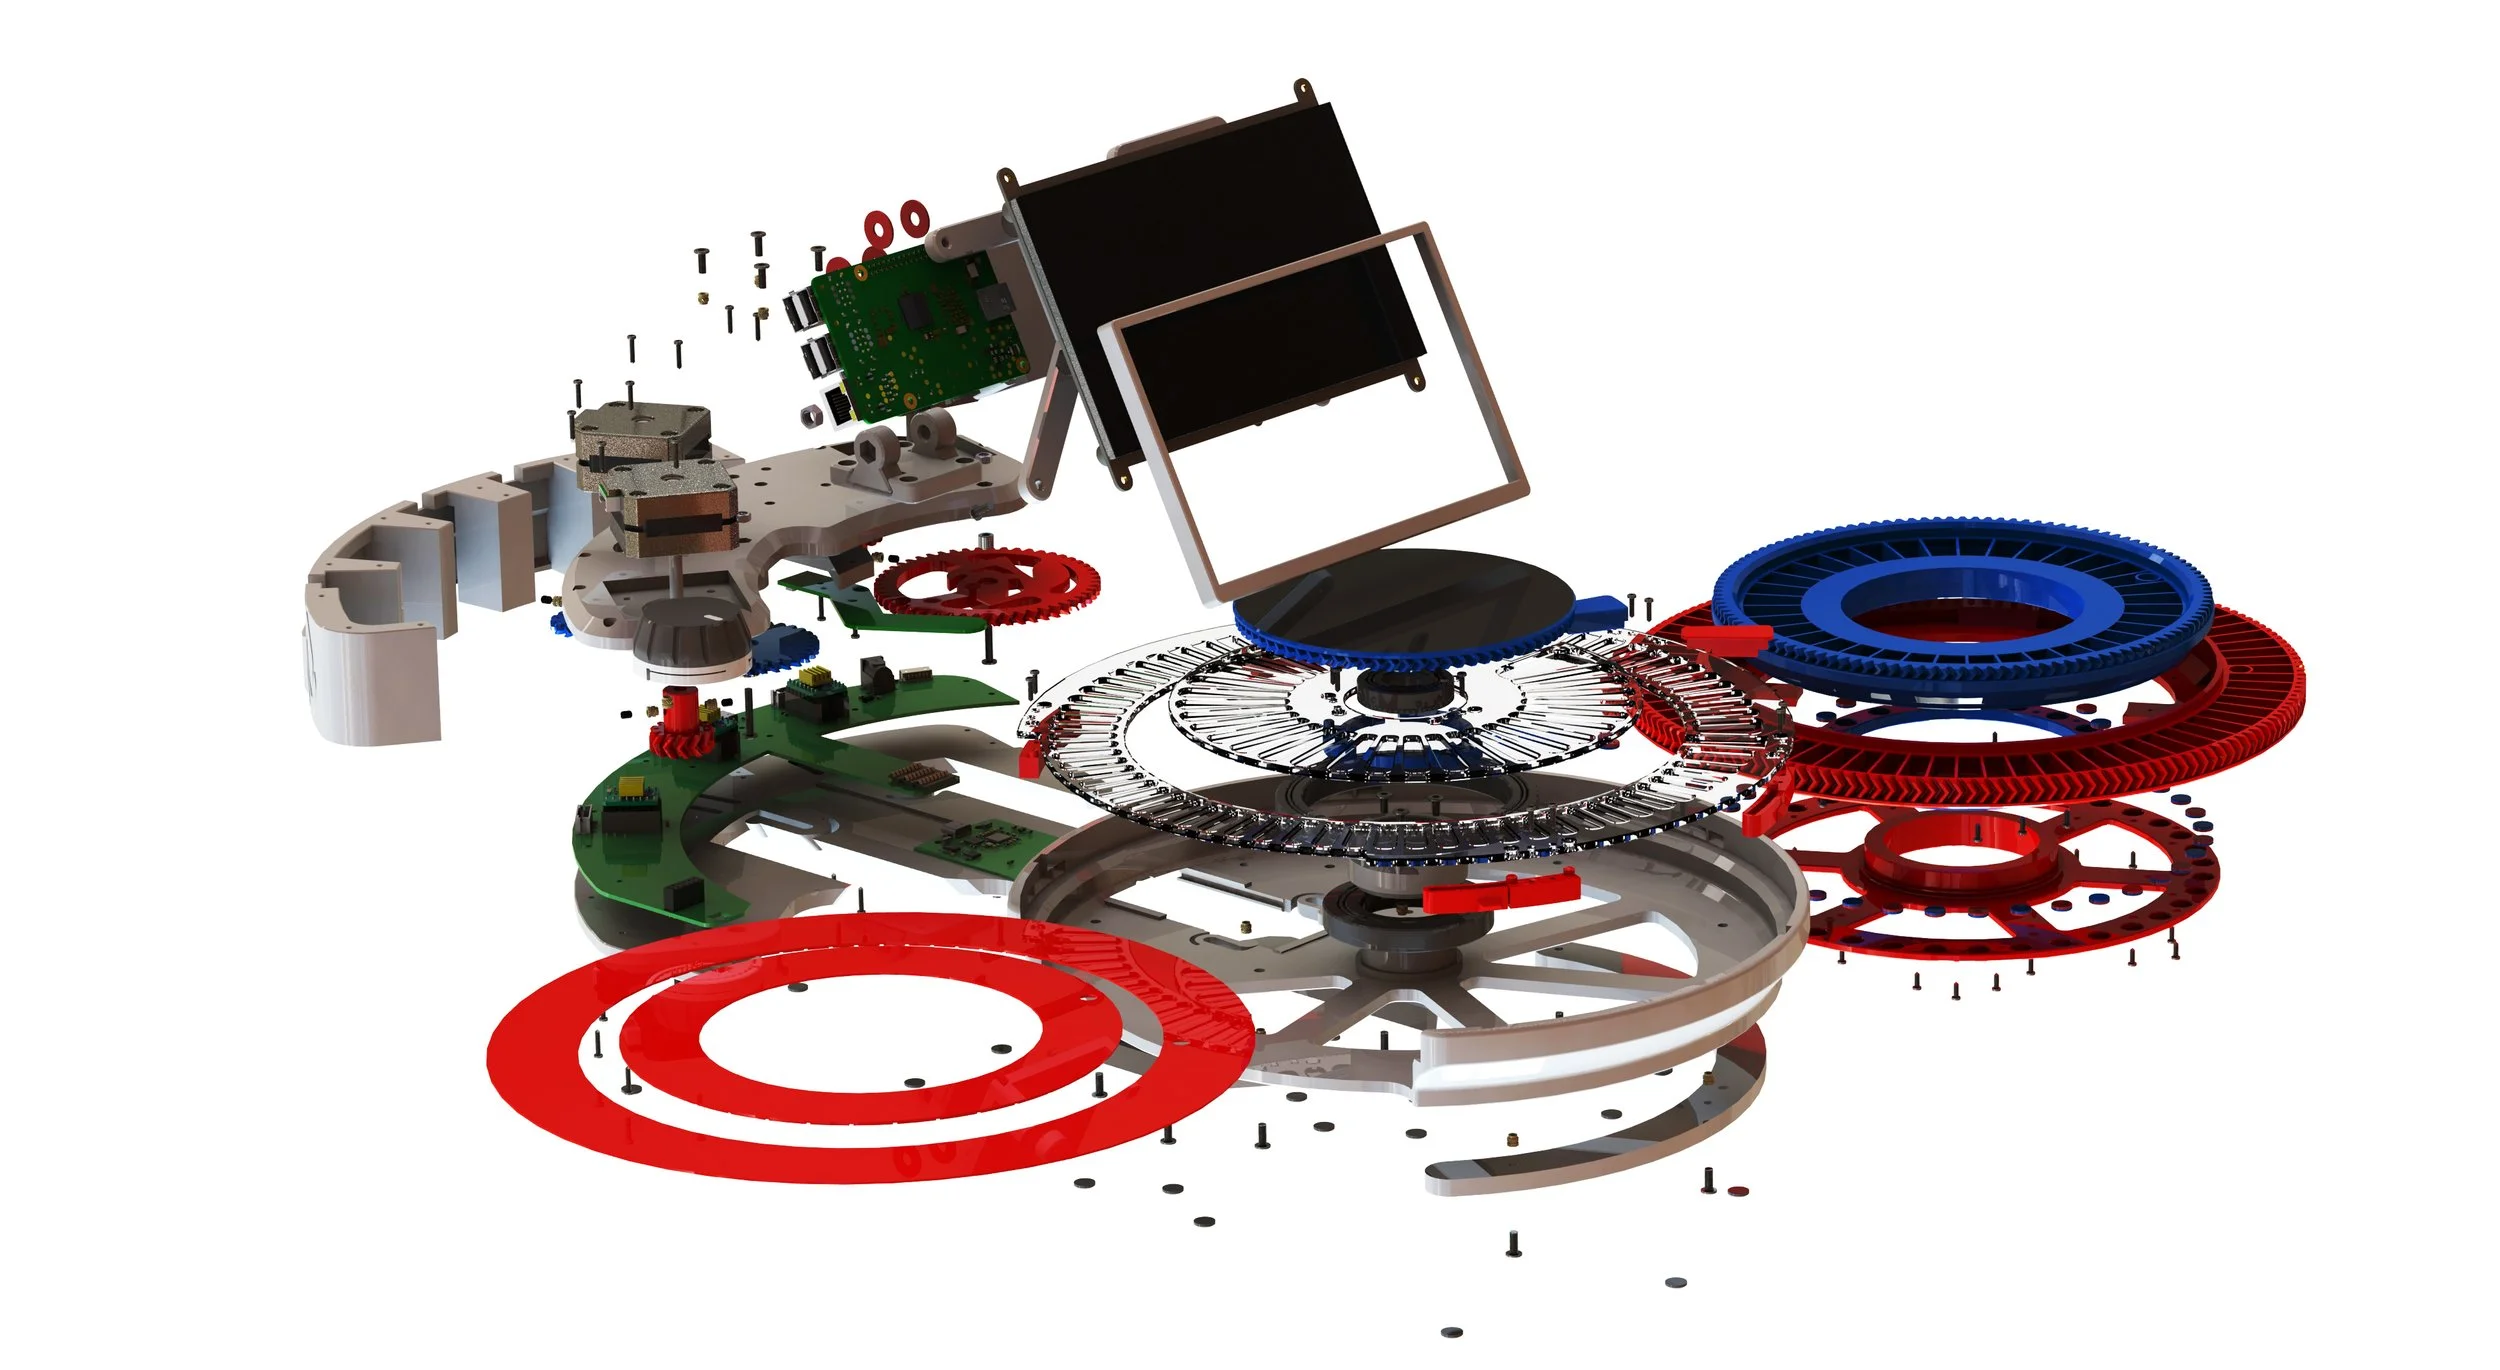
Hardware for (Motorized Wheel)
All the hardware quantities listed below are in addition to the ones used for the manual wheel
1pcs Pick ‘N’ Place Wheel MECH BOARD (Default or XL)
1pcs Pick ‘N’ Place Wheel HOME BOARD (Default or XL)
1pcs Magnetic Rotary Encoder MINI BOARD
3pcs Nema-17 23mm stepper motor 0.42N.m 1.5A
3pcs TMC2208 V1.2 Stepper Driver
M3 heat inserts:
16pcs, M3 outer diameter 4.2mm, 3mm length (Pick ‘N’ Place Wheel)
18pcs, M3 outer diameter 4.2mm, 4mm length (Pick ‘N’ Place Wheel XL)
3pcs PH 2.0mm 6P Double-ended Terminal Line Length 15-20mm (Reverse side connector)
1pcs SH 1.0mm 5P Double-ended Terminal Line Length 10mm (Reverse side connector)
1pcs ZH 1.5mm 6P Double-ended Terminal Line Length 20-30mm (Reverse side connector) optional.
2pcs M3 Aluminum Bushing Gasket (inner diameter - M3 / Thickness - 5mm)
2pcs MF83ZZ Deep Groove Flange Bearing
Ultra Thin 1mm Wafer Head M3 Bolt
Pick ‘N’ Place Wheel
18pcs M3x8mm
2pcs M3x16mm
1pcs M3x14mm
12pcs M3x6mm
Pick ‘N’ Place Wheel XL
20pcs M3x8mm
2pcs M3x16mm
1pcs M3x18mm
12pcs M3x6mm
2pcs M3 nuts
6pcs M3x4mm hex socket grub set screw
M2x12mm self-tapping screws:
26pcs M2x12mm self-tapping screws (Pick ‘N’ Place Wheel)
32pcs M2x12mm self-tapping screws (Pick ‘N’ Place Wheel XL)
1pcs IPS 7Inch 1024 x 600 HDMI Touch screen (optional)
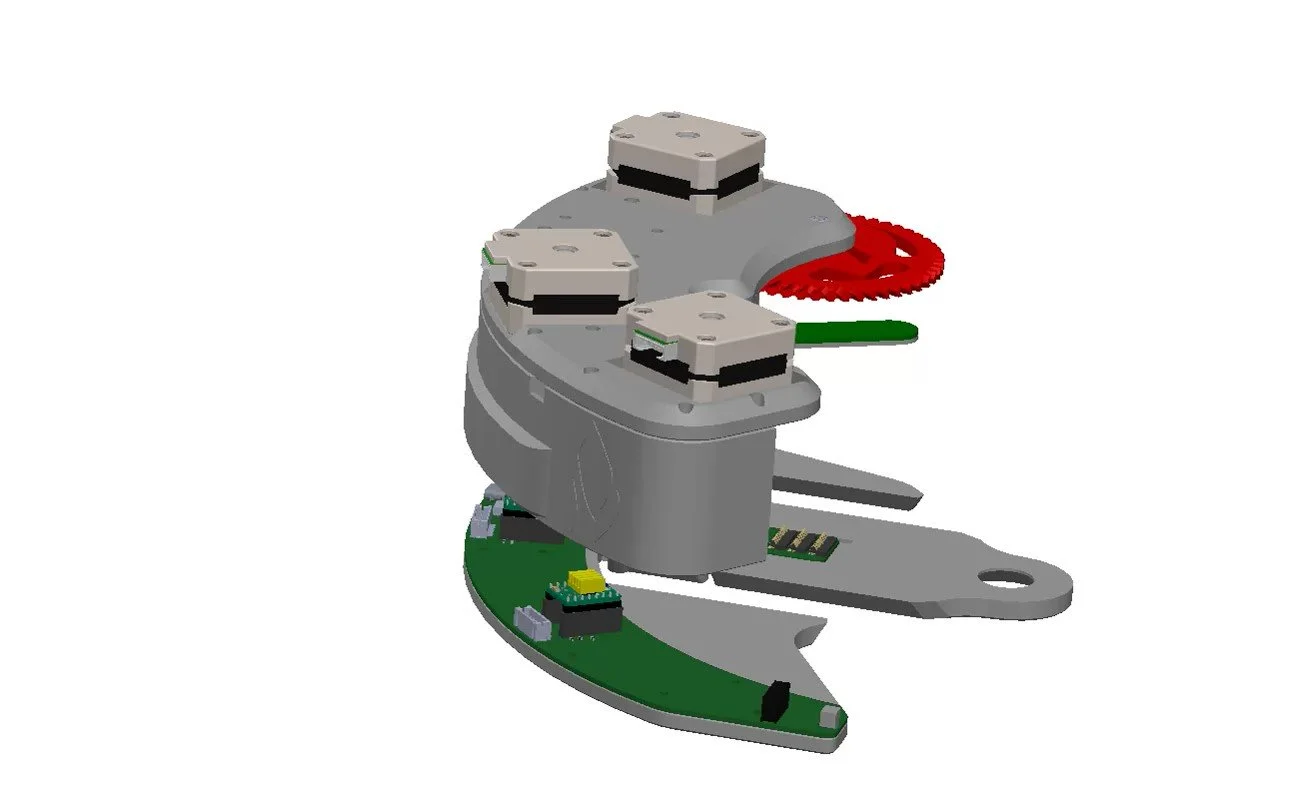
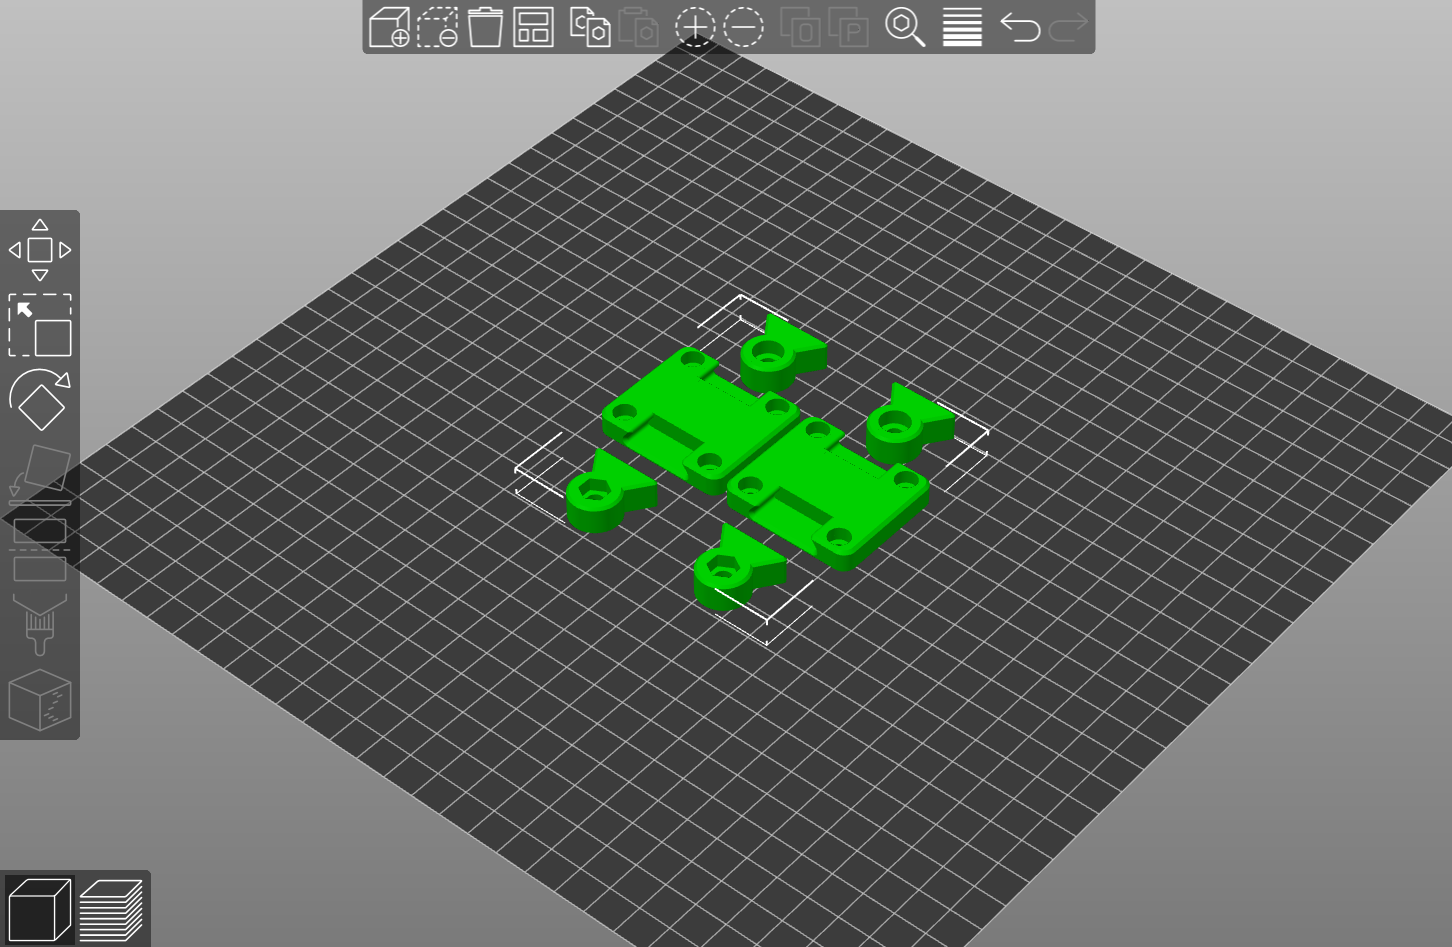
3D Printed Parts (Motorized Wheel)
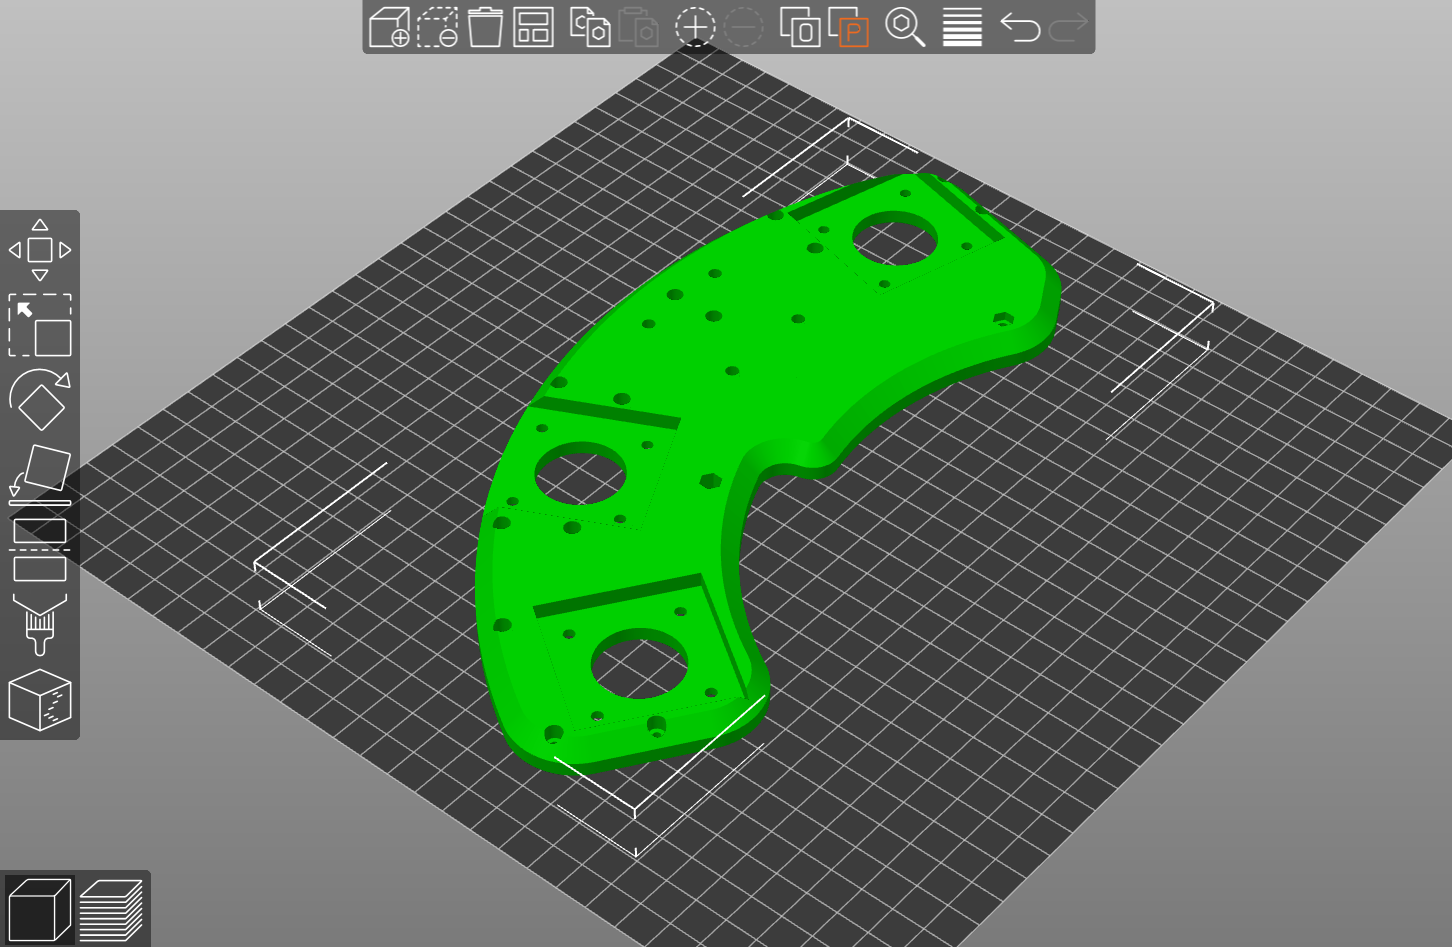
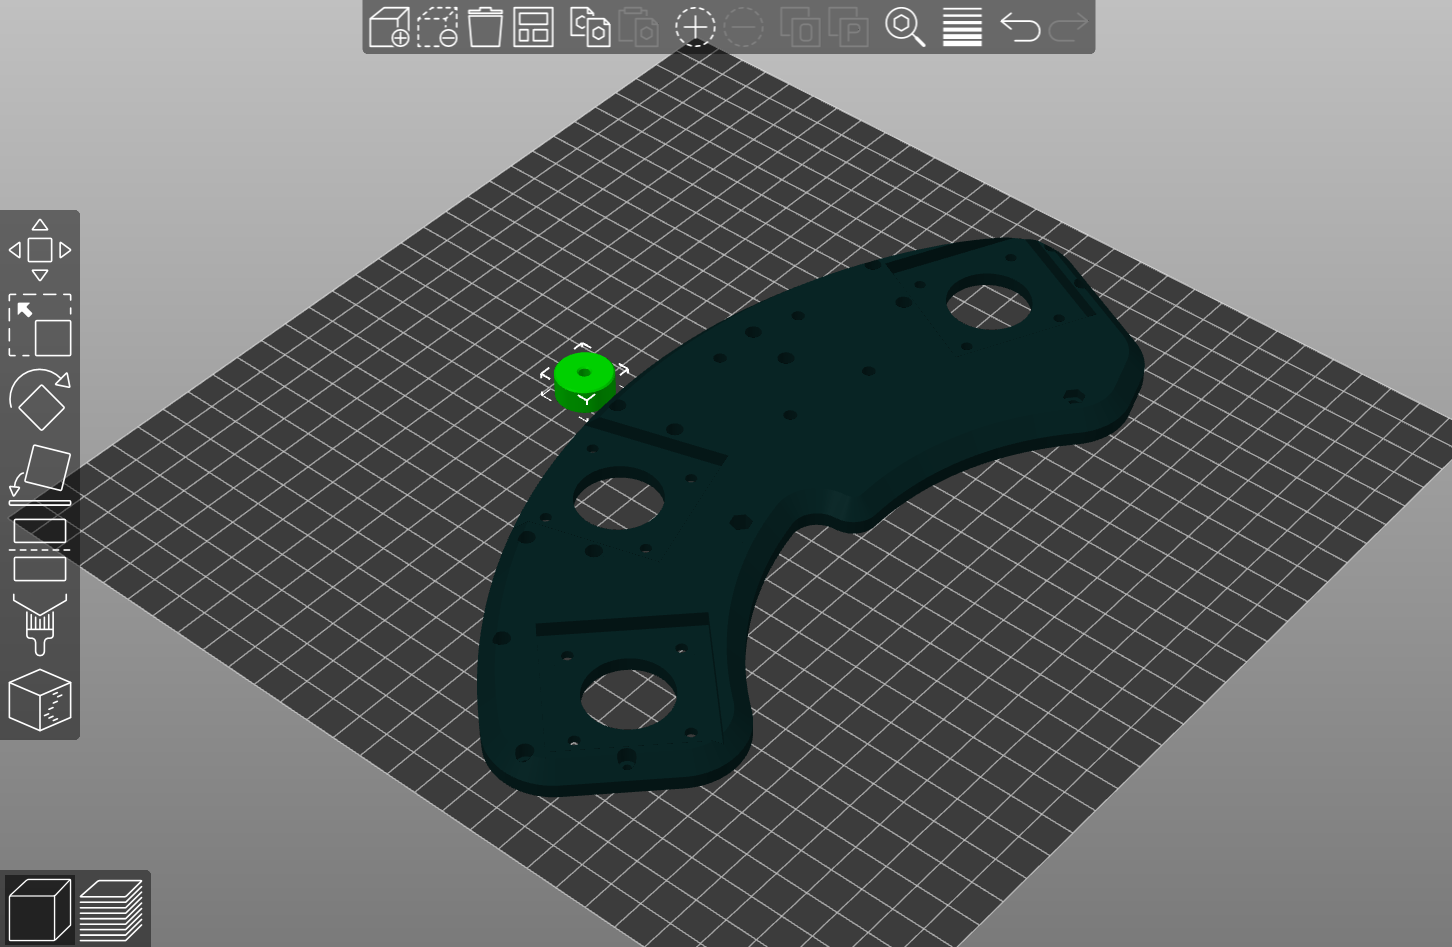
MECH BOTTOM
MECH TOP
MECH MIDDLE
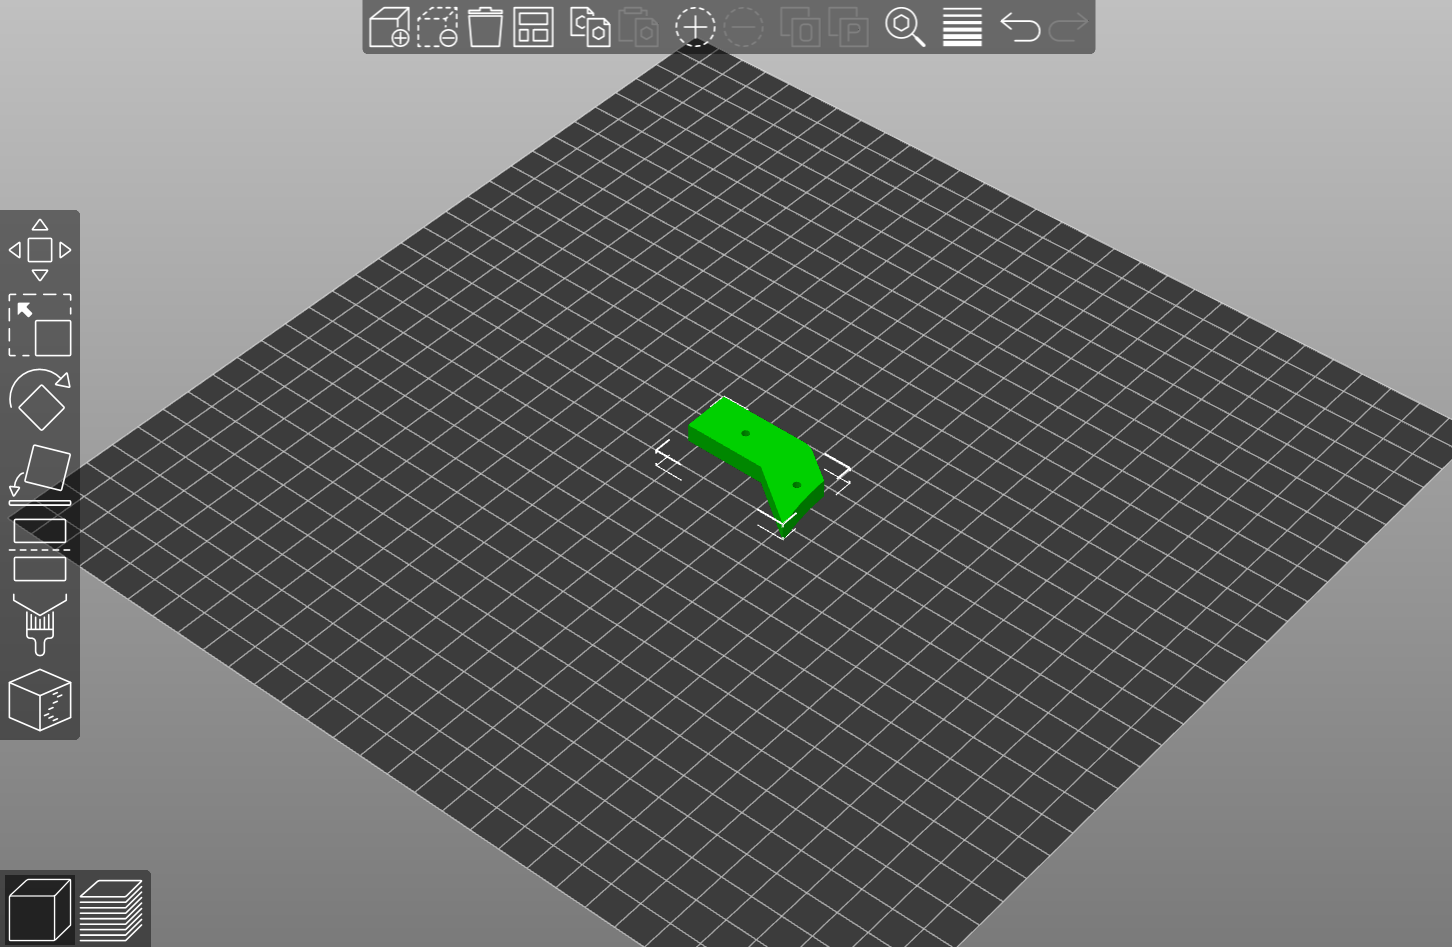
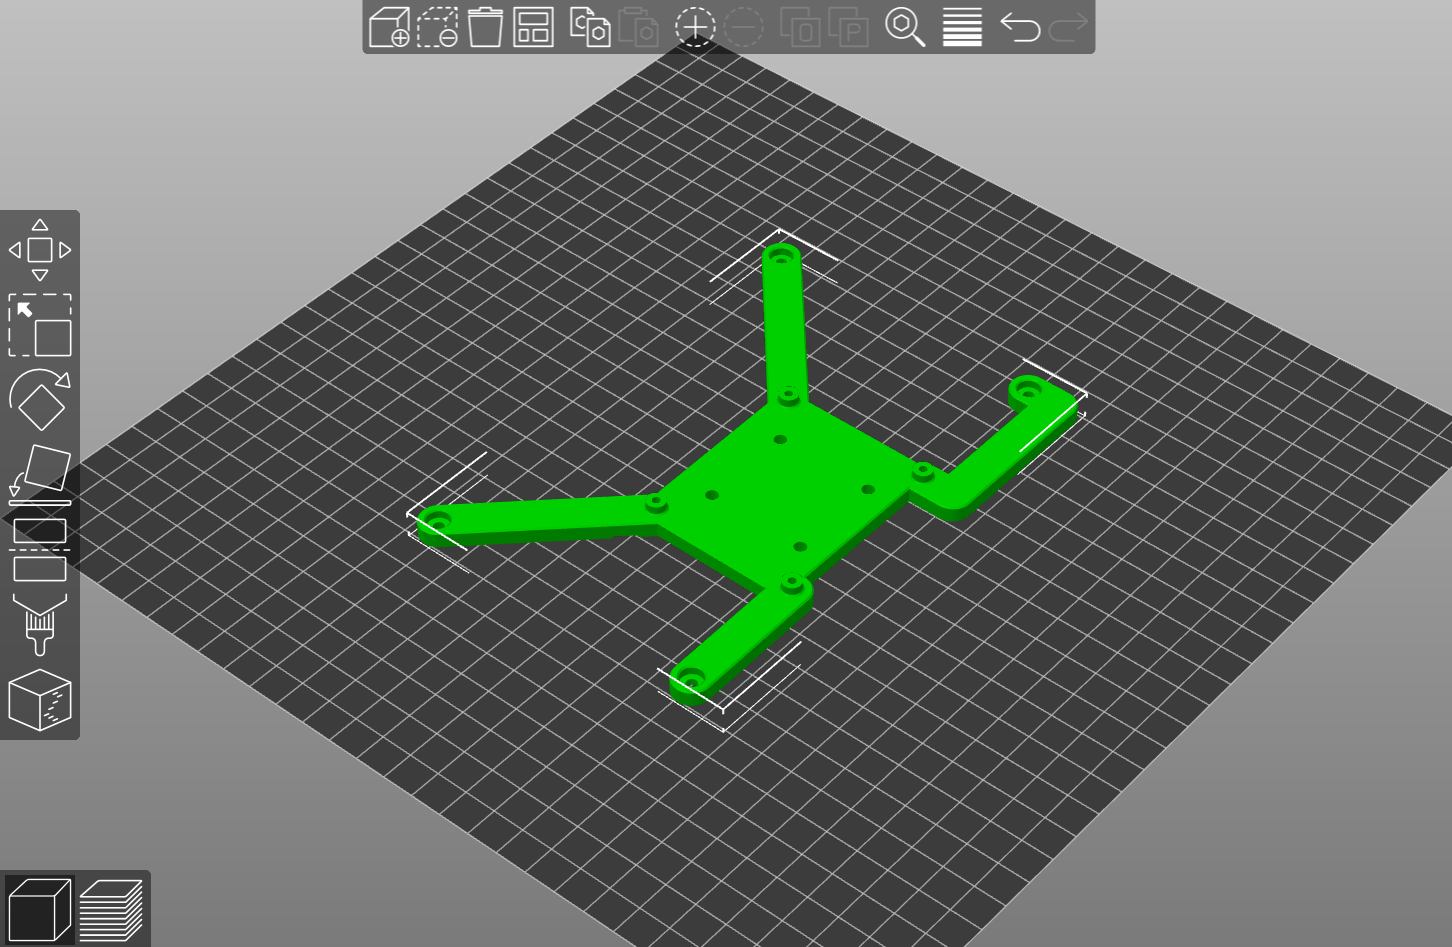
WHEEL FEET
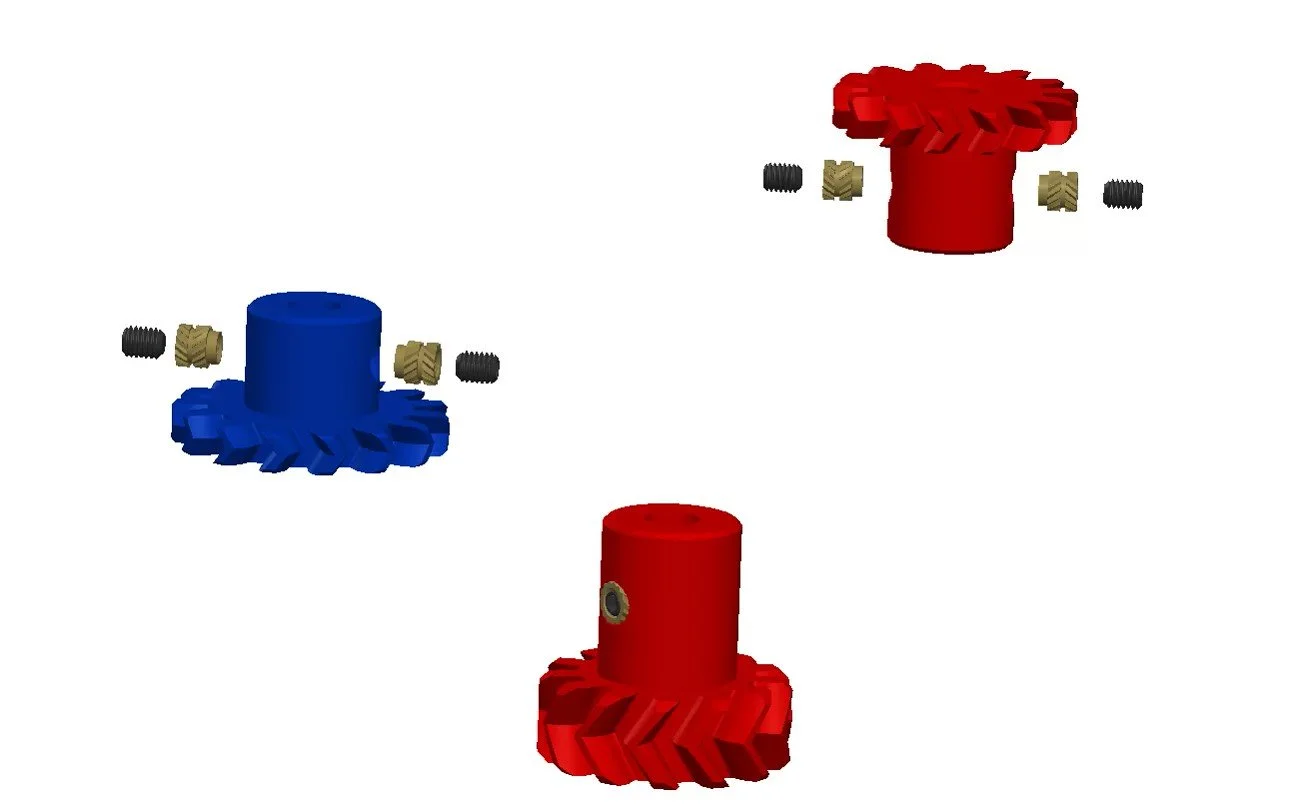
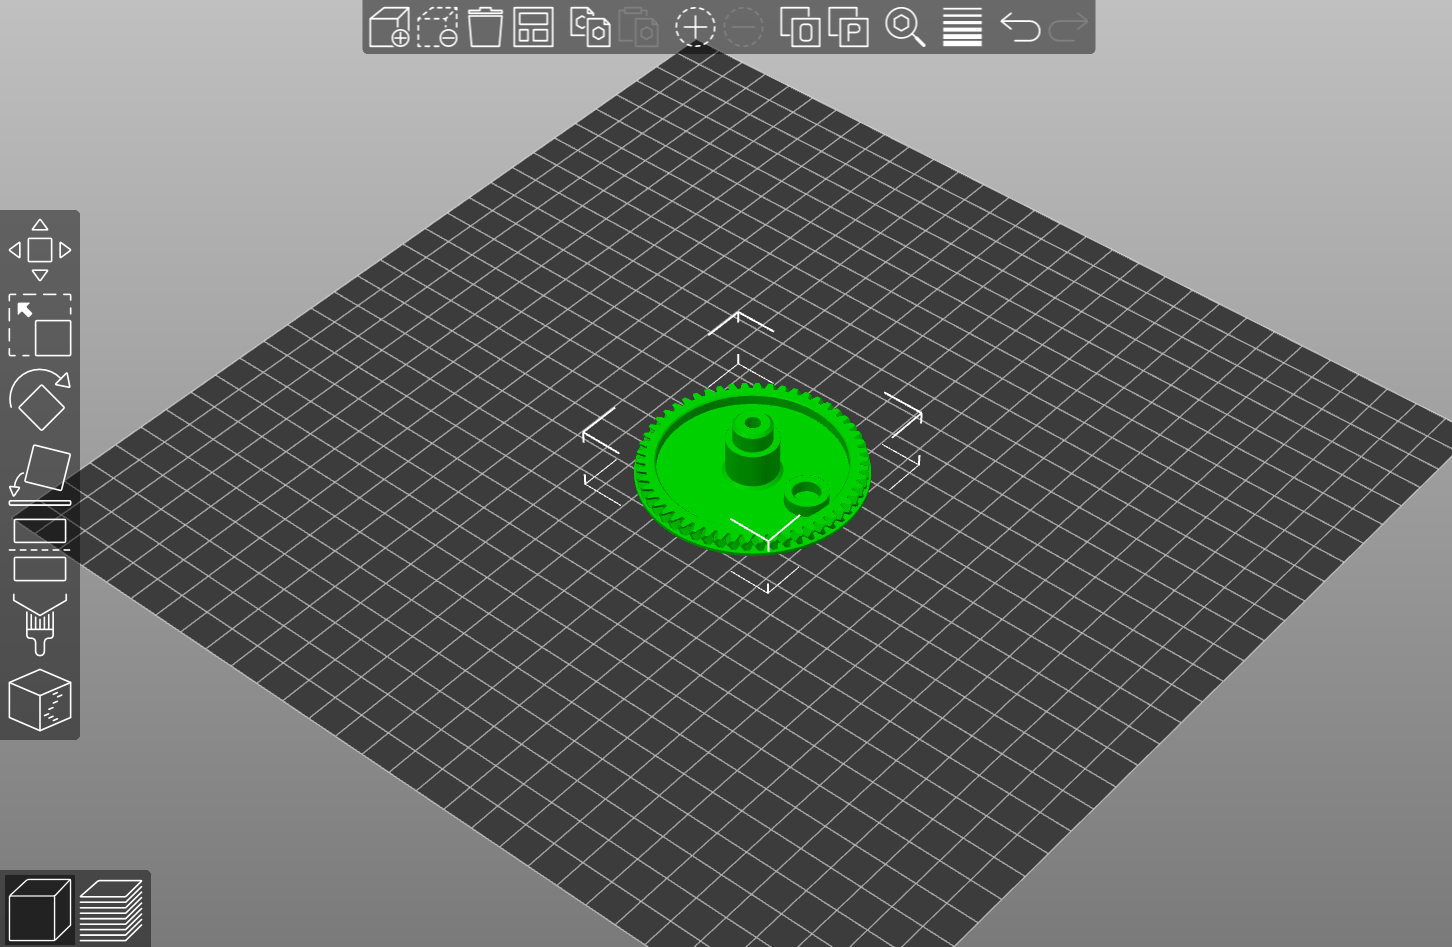
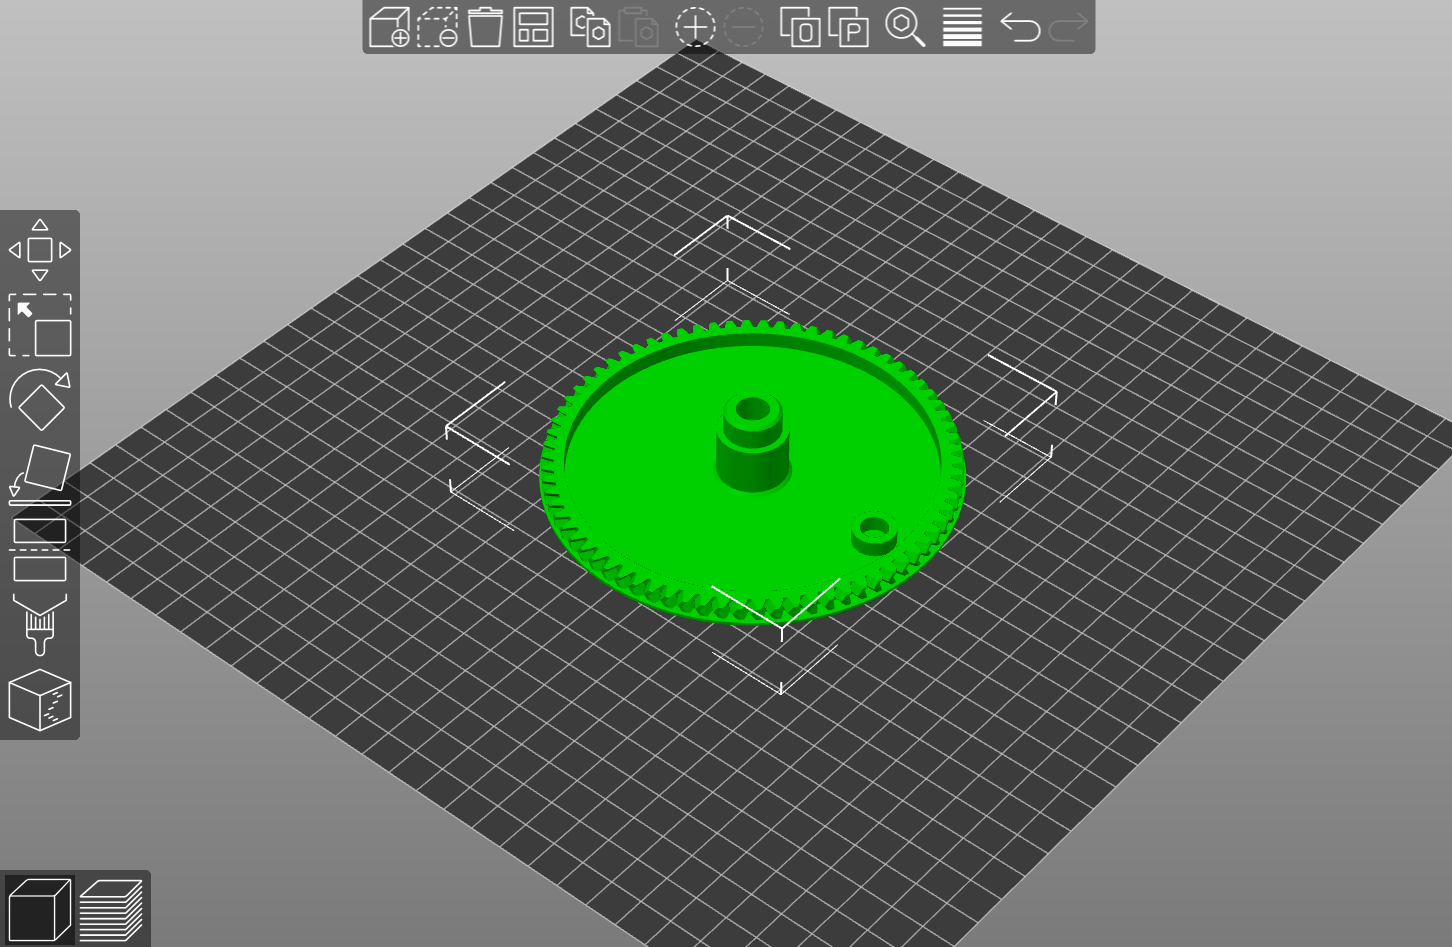
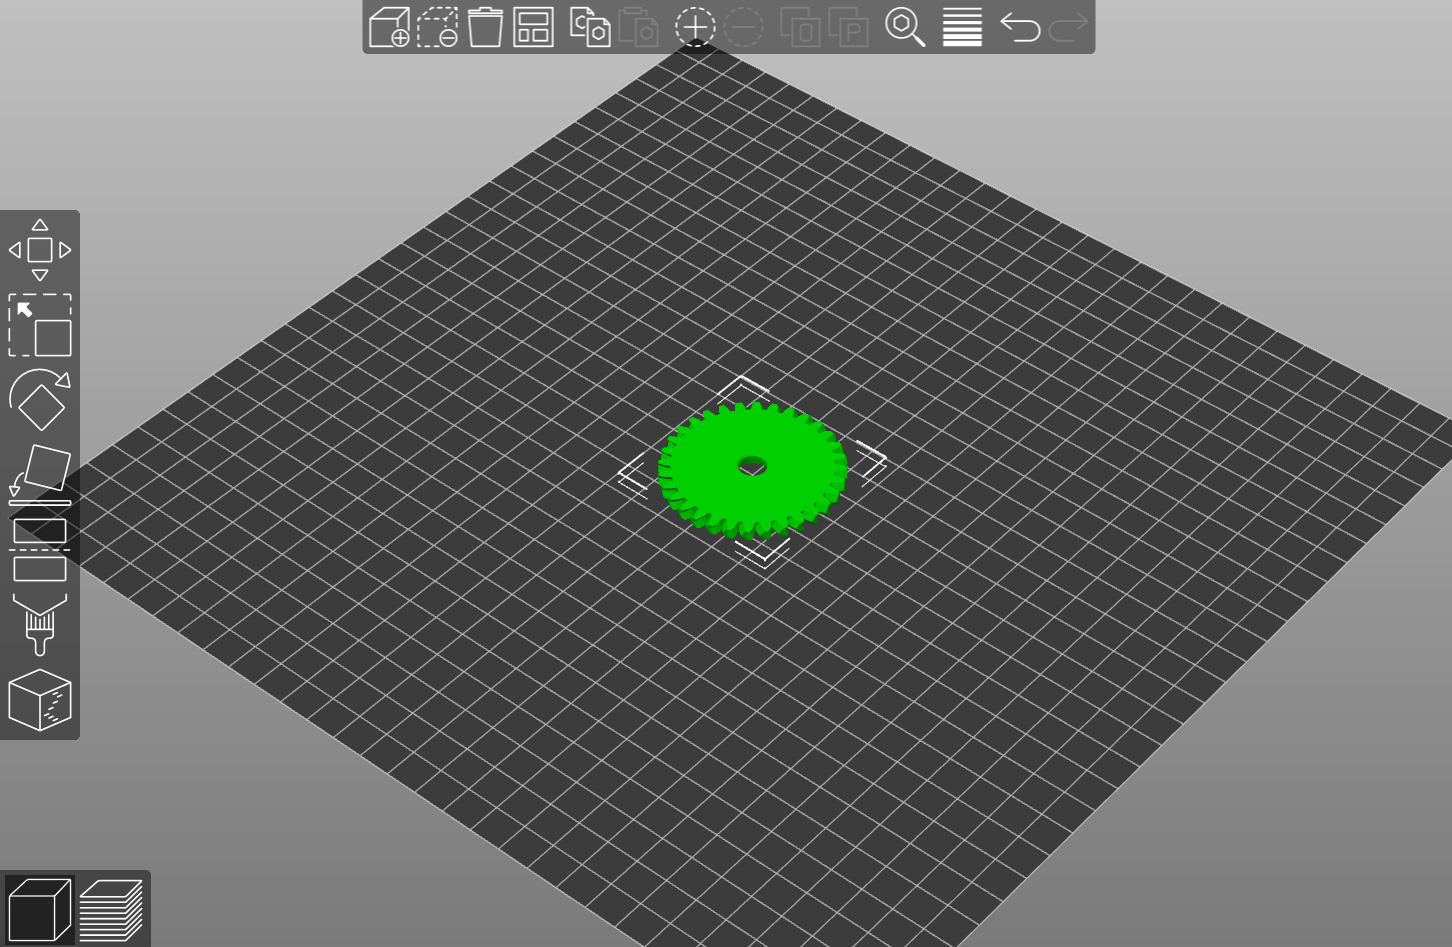
WHEEL 1 MOTOR GEAR

WHEEL 2 MOTOR GEAR
SURFACE MOTOR GEAR
WHEEL 2 IDLER GEAR
SURFACE IDLER GEAR

WHEEL 2 IDLER GEAR SPACER
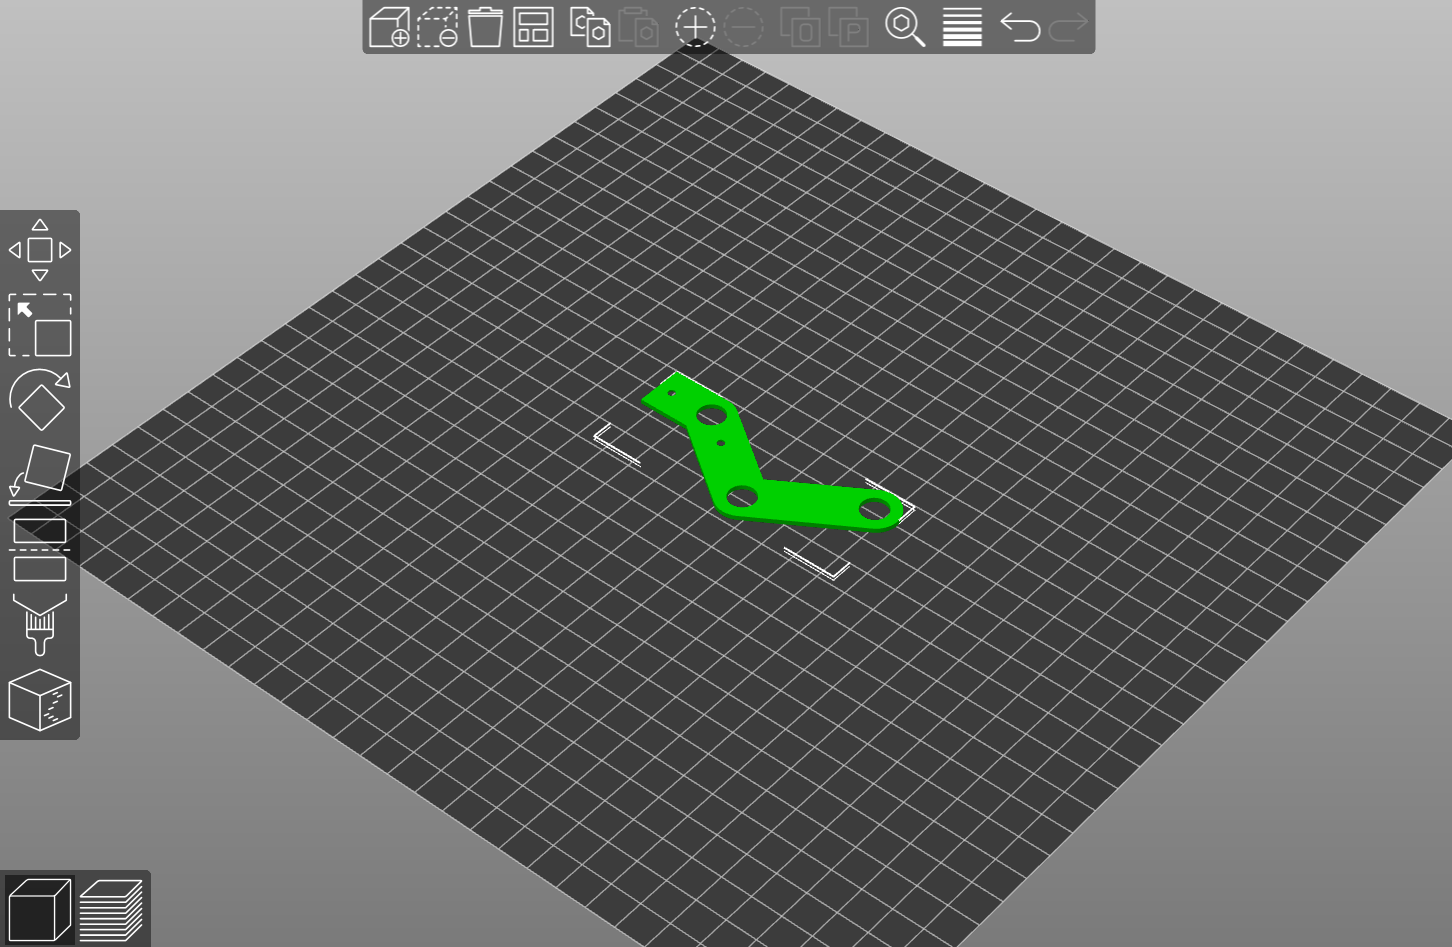
HOME PART
HOME BOARD PROTECTOR
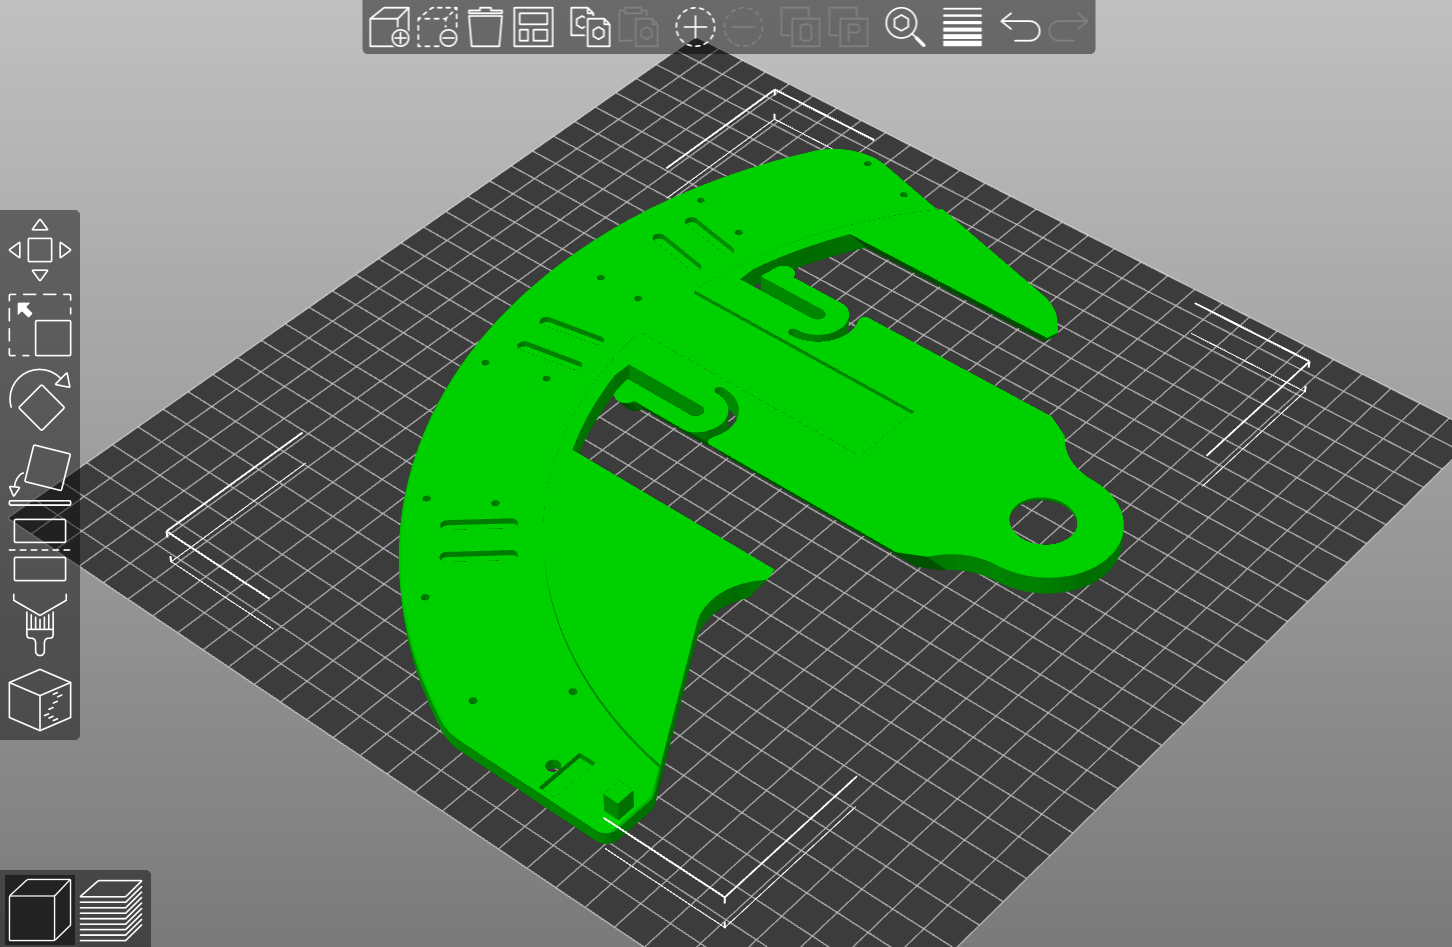
SCREEN MOUNT
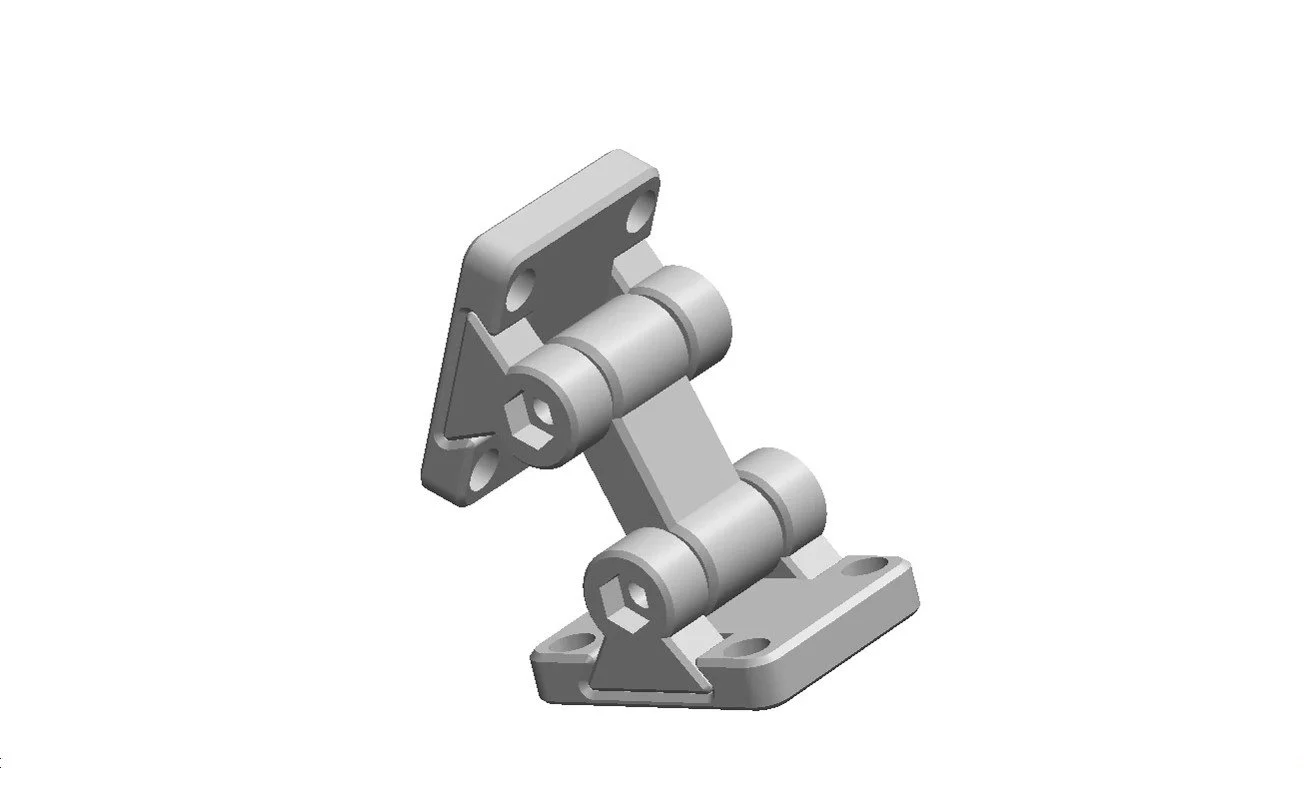
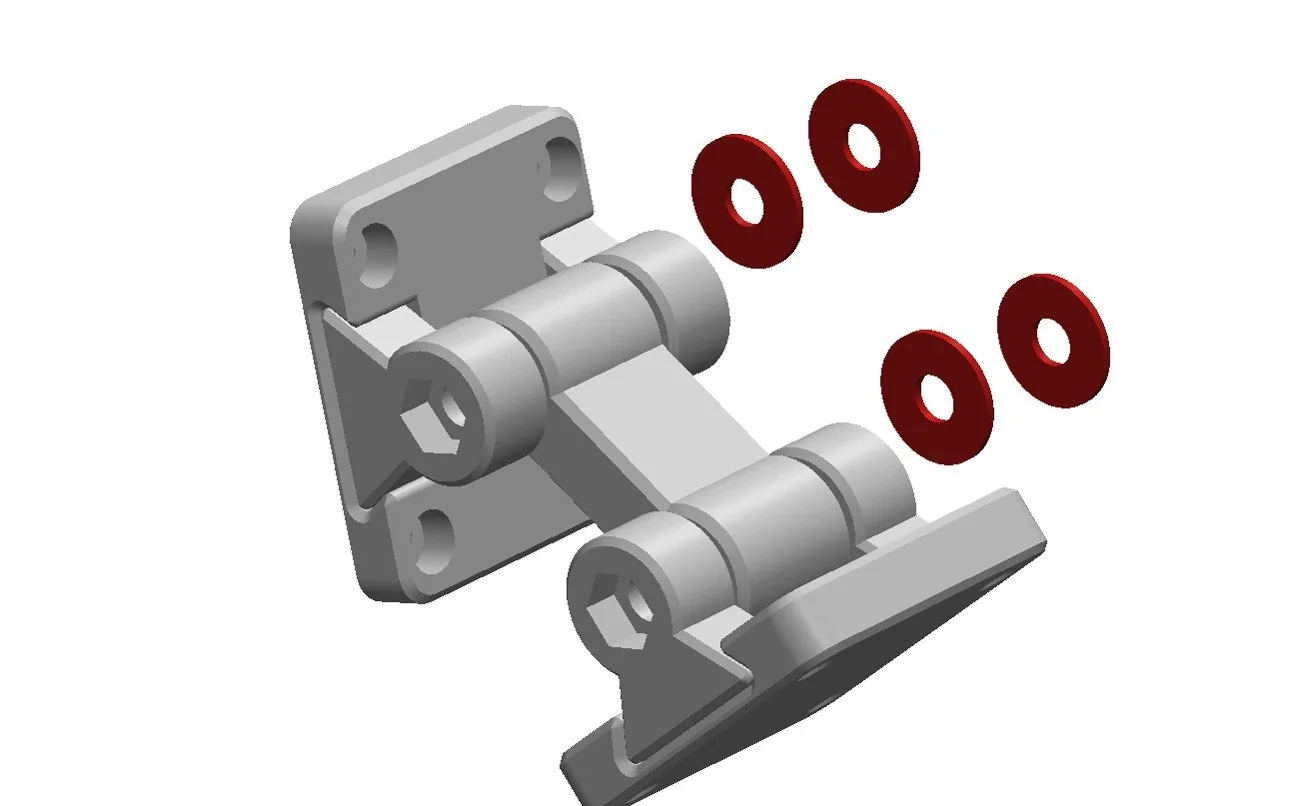
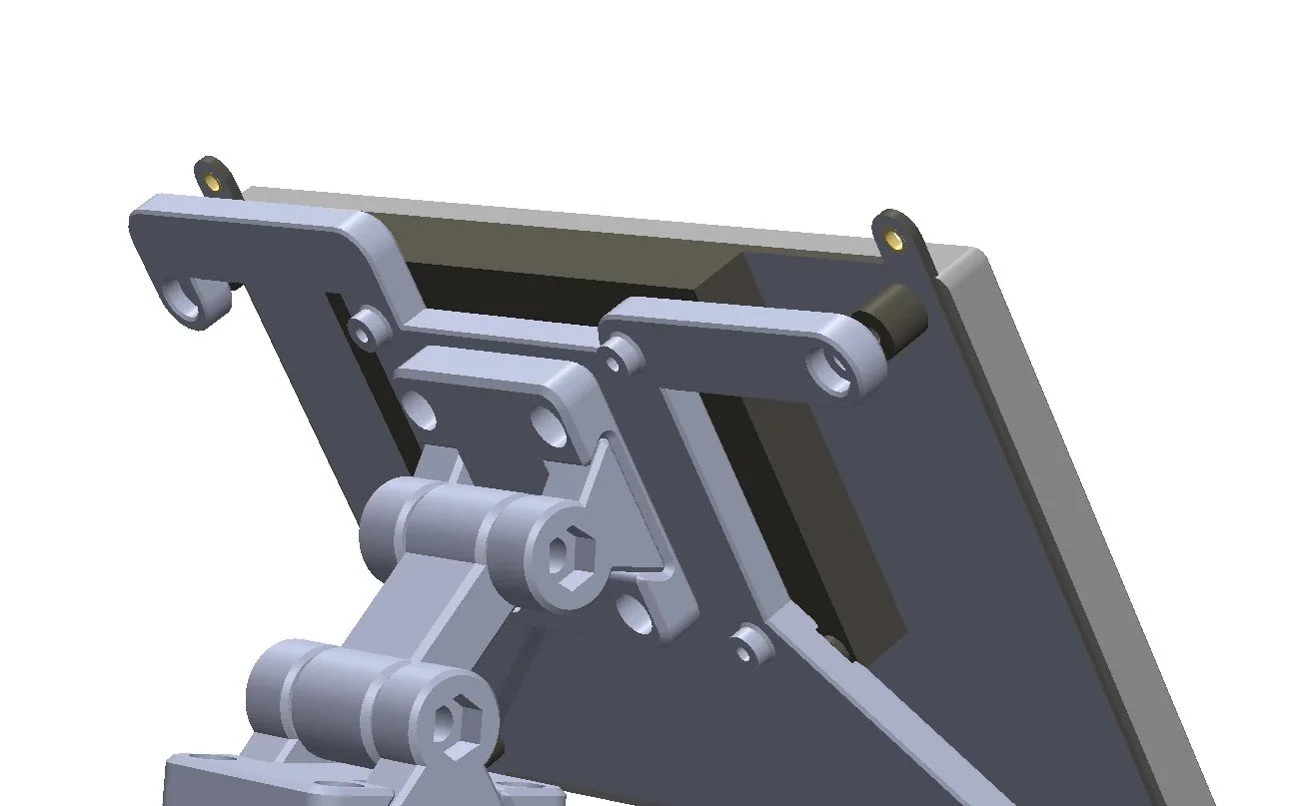
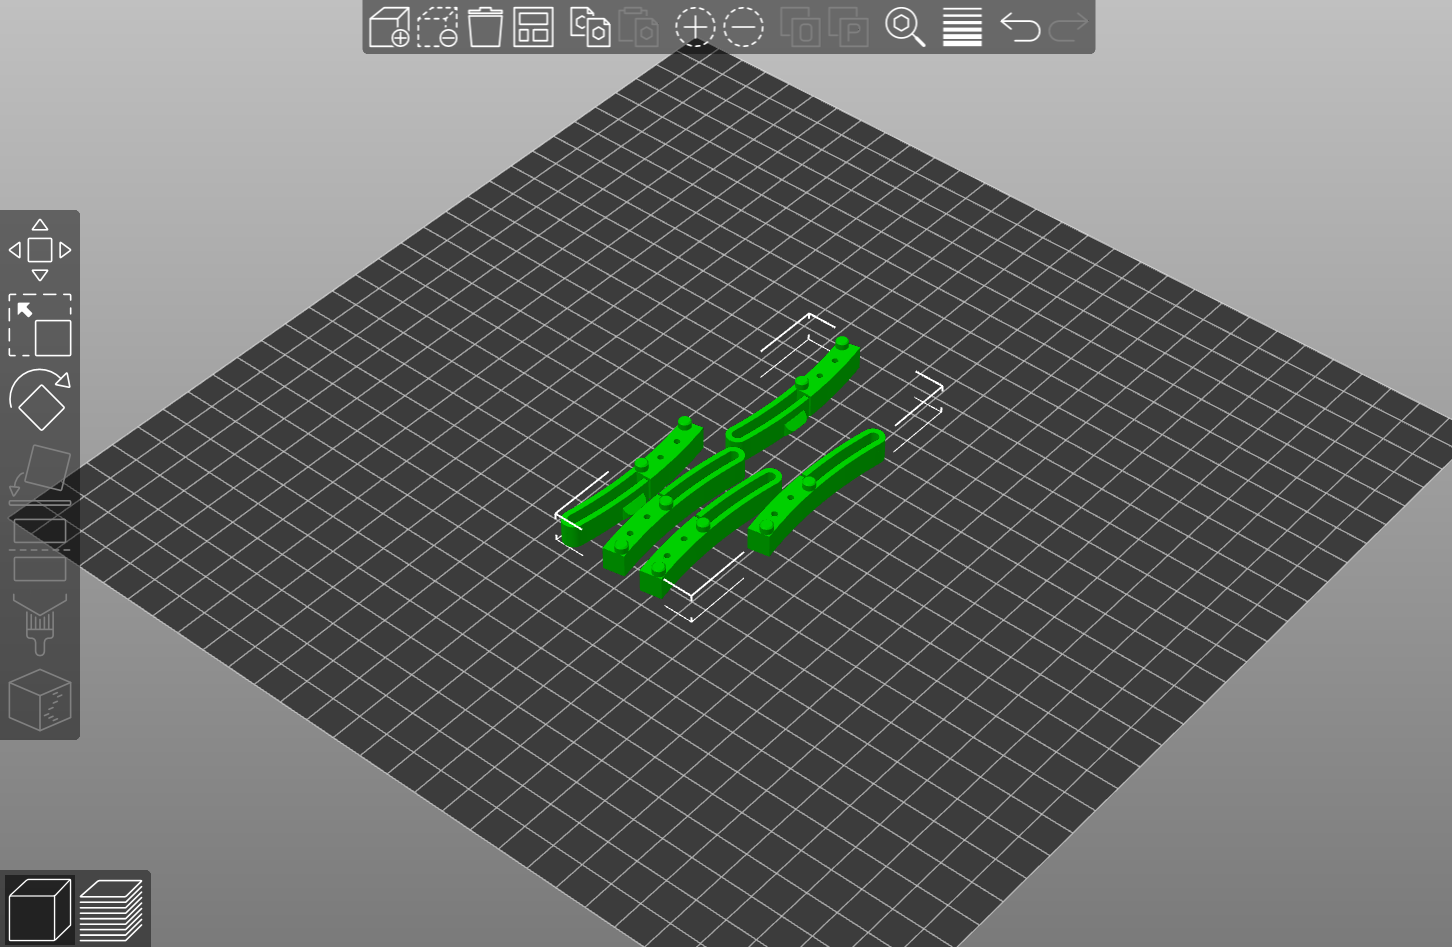
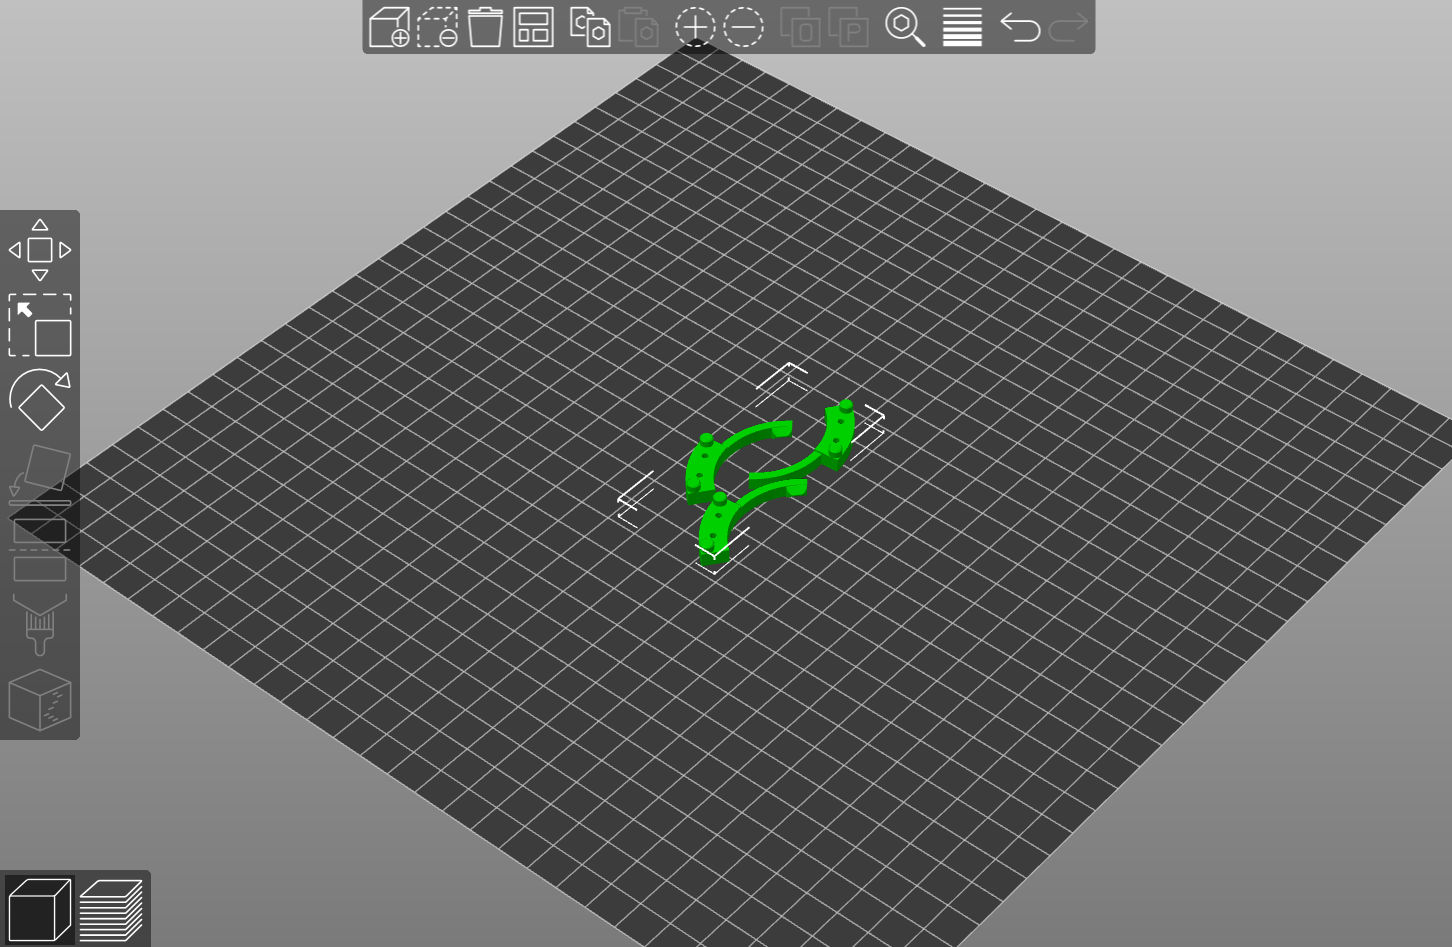
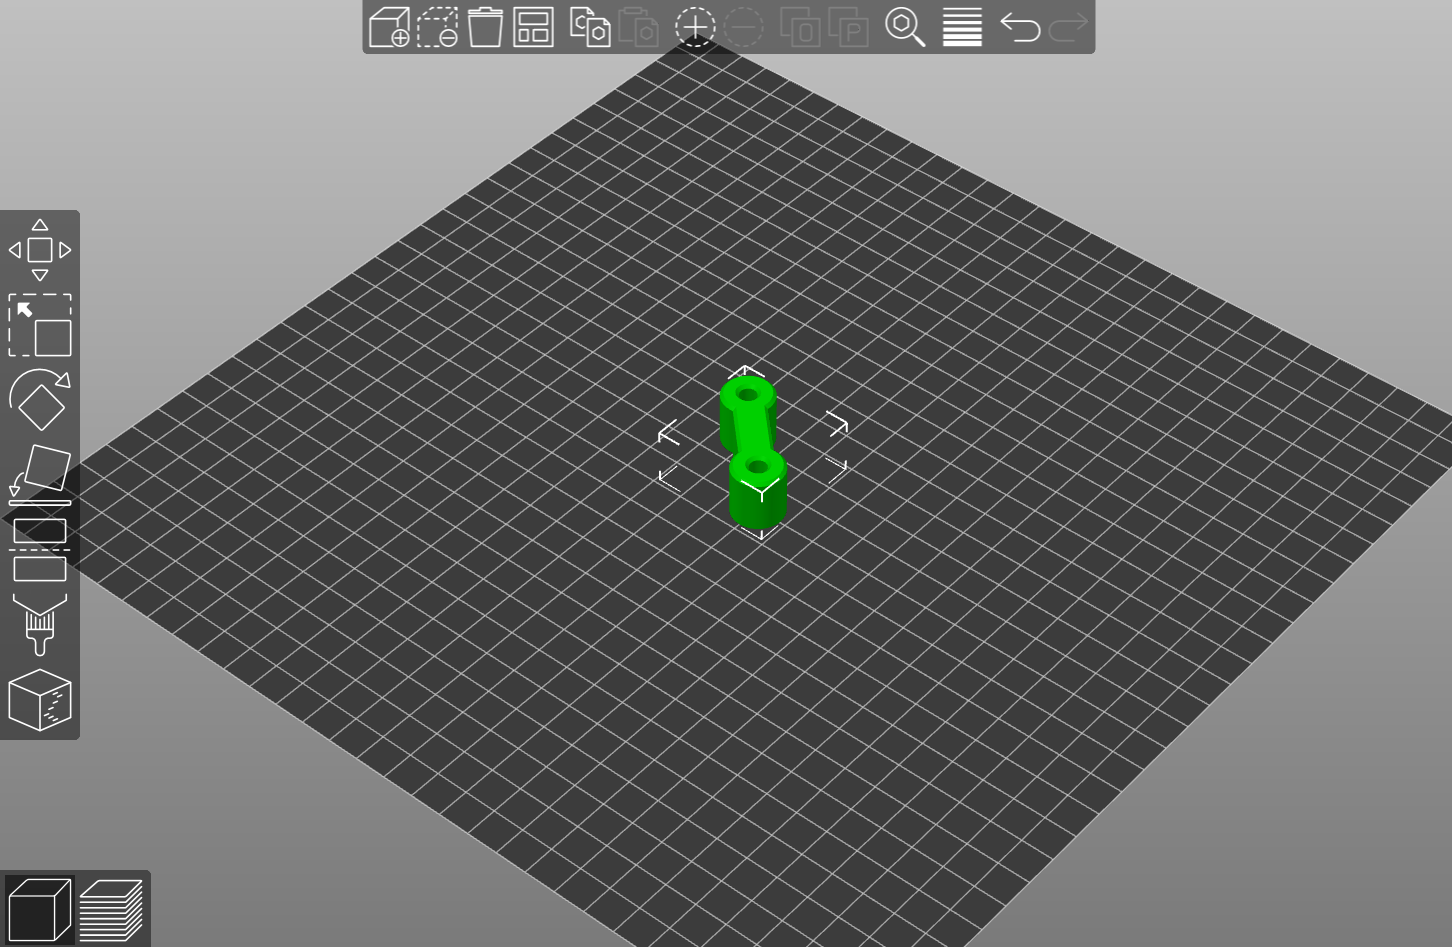
SCREEN HINGE (2 sets)
This is a multi-body part containing 3 separate parts, so you will need to split it in your slicer.
CONNECTING PIECE
SCREEN HOLDER
SCREEN BEZEL
RASPBERRY PI HOLDER
If you are going to be running the Pick ‘N’ Place Wheel App from a raspberry pi you need to print this part, skip it otherwise.
MAGNETIC ROTARY ENCODER MINI
The mini encoder is a standalone product that connects to and controls the motorized wheel, it is not strictly required, as you can already fully control the wheel from the app.
You can get the mini encoder as a kit or fully assembled here.
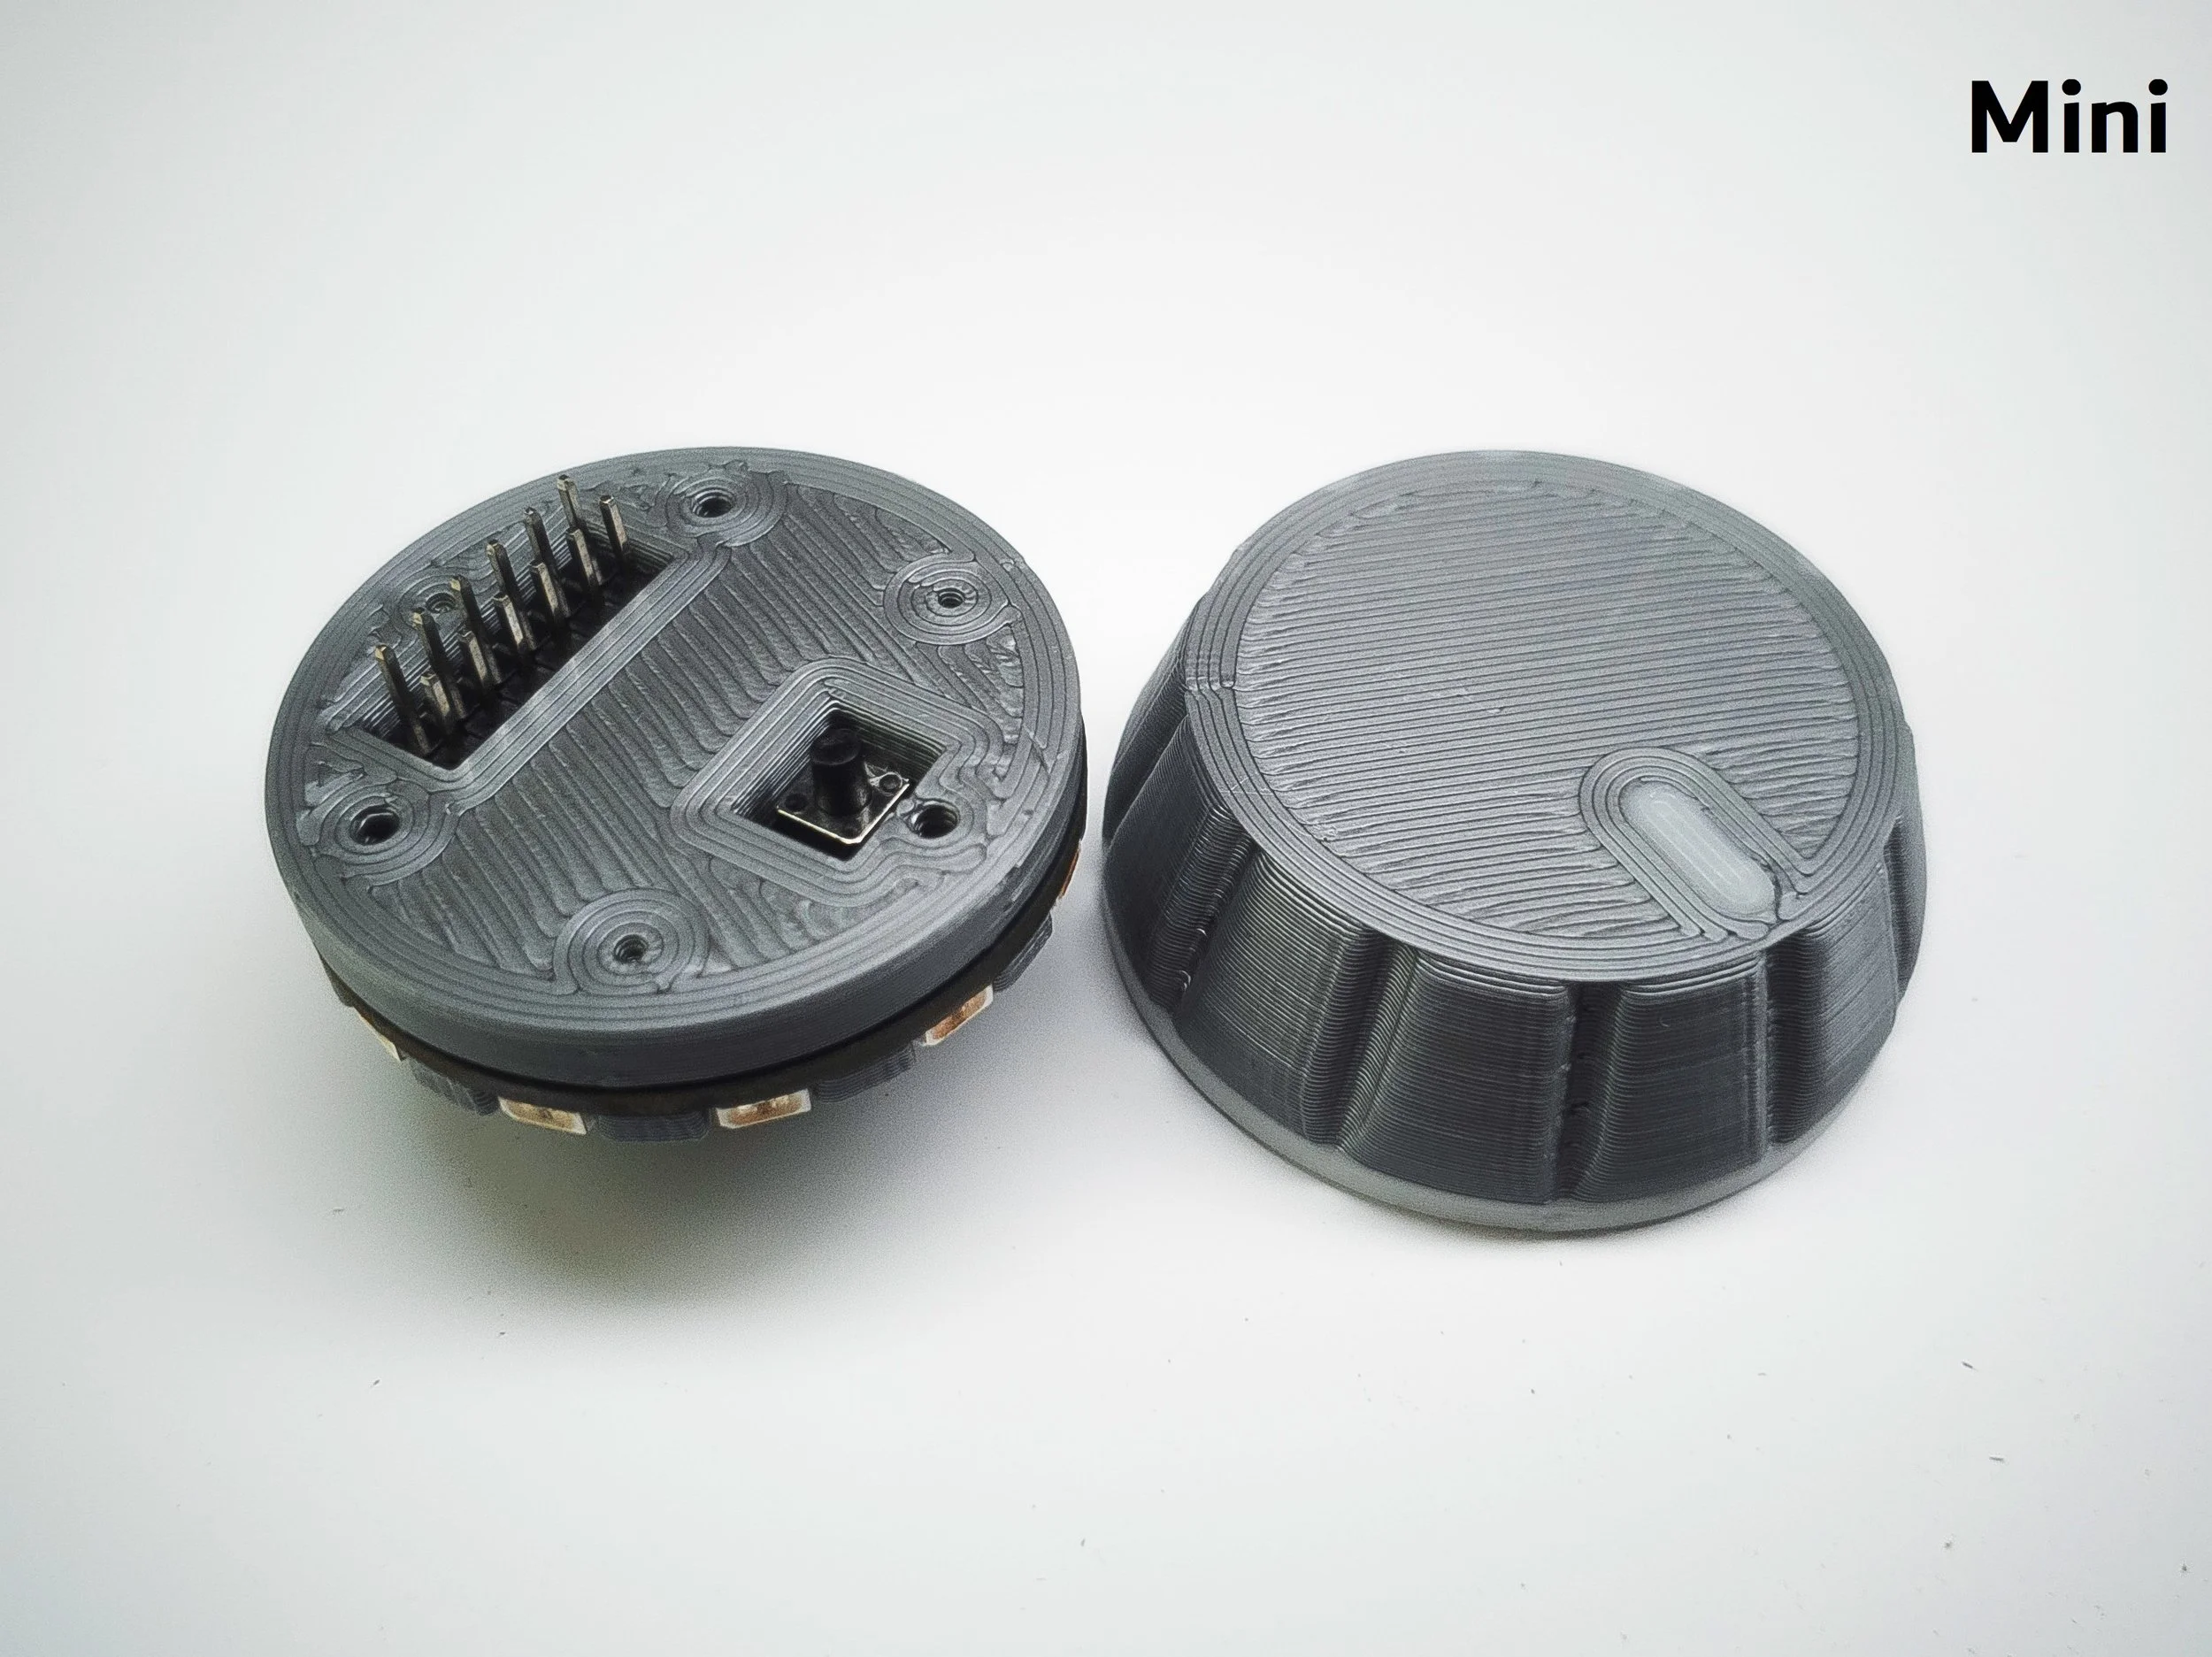
See assembly instructions for the Mini Encoder >